





You bought a pair of arch supports, slipped them into your shoes and expected instant relief. Instead, your arches ache, your heels feel odd, or you notice nothing at all. The most common reason is simple: the height of the support does not match your foot.
Arch support is not one-size-fits-all. A support that is too low leaves your arch hanging with no real help, while one that is too high pushes into soft tissue and can leave you sore after a short walk. The good news is that you can check the fit at home with a few simple tests, no special equipment needed.
In this guide you will learn how to identify your arch type, how to test the height inside your shoe, which warning signs to watch for, how to break supports in safely, and when it is time to get a professional opinion.
Quick answer
- The right height touches your arch evenly from heel to ball, with no gap and no sharp pressure.
- The highest point of the support should sit under the inner midfoot, not under your heel or the ball of your foot.
- You should feel gentle lift and stability, never pain, numbness or a lump.
- Break supports in over one to two weeks, then reassess. Persistent pain means the height or shape is wrong.
Why Arch Support Height Matters
Your arch works like a spring. With every step it flexes to absorb shock, then recoils to push you forward. Arch support is designed to share that workload, especially if you spend long hours standing, walking or running, or if your arches tend to collapse inward.
Height is the part people most often get wrong. Think of it like the pillow under your neck: too flat and your neck is unsupported, too thick and it is strained. Arch support works the same way. It should fill the natural space under your arch and nothing more.
- Too low: your arch still collapses, so nothing changes and fatigue continues.
- Too high: the support jabs into the arch and shifts weight to the outer edge of the foot.
- Right height: weight is spread evenly across the foot and your gait feels natural.
Step 1: Find Your Arch Type with the Wet Test
Before judging an insole, you need to know what your own foot looks like. The wet test is the easiest way to see your arch type at home.
How to do the wet test
- Place a flat piece of dark paper, a brown paper bag or a cut-open cardboard box on a hard floor.
- Wet the sole of one foot, shaking off the excess so it is damp rather than dripping.
- Step onto the paper and stand naturally with your weight evenly balanced for a few seconds.
- Step off carefully and look at the print. Repeat with the other foot, because arches can differ between feet.
| Print shape | Arch type | What it usually means |
|---|---|---|
| Almost the whole sole is visible with little or no inward curve | Low arch (flat foot) | Your arch lowers a lot under weight. You usually need firm, structured support with a moderate lift. |
| A clear curve, and a band about half the width of the foot joins heel and ball | Medium (neutral) arch | A balanced arch. Medium-height support is usually the best match. |
| Only a thin band, or a gap, between heel and ball | High arch | Your arch barely flattens. You need cushioned, well-contoured support rather than a hard, tall ridge. |
Two quick extra checks
- Standing versus sitting: sit and look at the inside of your foot, then stand up. If a visible arch disappears completely when you stand, your arch is flexible and likely needs more support.
- Tiptoe check: rise onto your toes. If the arch reappears, you probably have a flexible flat foot. If the arch stays flat, see a professional, as this can be a sign of a more rigid structure.
Keep in mind that the wet test only shows how your foot looks under weight. It is a helpful starting point, not a diagnosis.
Step 2: Understand What the “Right Height” Looks Like
Arch support heights are usually described as low, medium or high, but there is no universal measurement, and the numbers differ from brand to brand. That is why you should judge the fit by how it meets your foot, not by the label alone.
A well-fitted support meets the arch gently as you stand, then shares the load as you walk. If you can feel a distinct gap, or if you can feel a firm ridge digging in, the height needs to change.
Step 3: Test the Height Inside Your Shoe
Once you know your arch type, check the support in the shoe you will actually wear it in.
- Remove the factory insole. Most arch supports are designed to replace it, not sit on top. Stacking them raises your foot and makes the fit tight.
- Compare the shape. Lay the factory insole next to the new support. If the support is longer, trim it only along the guide marks the manufacturer provides.
- Seat the support flat. Make sure the heel of the support sits fully in the heel of the shoe and nothing is bunched or curled.
- Put the shoe on and lace it snugly. Sit first, then stand with your weight evenly on both feet.
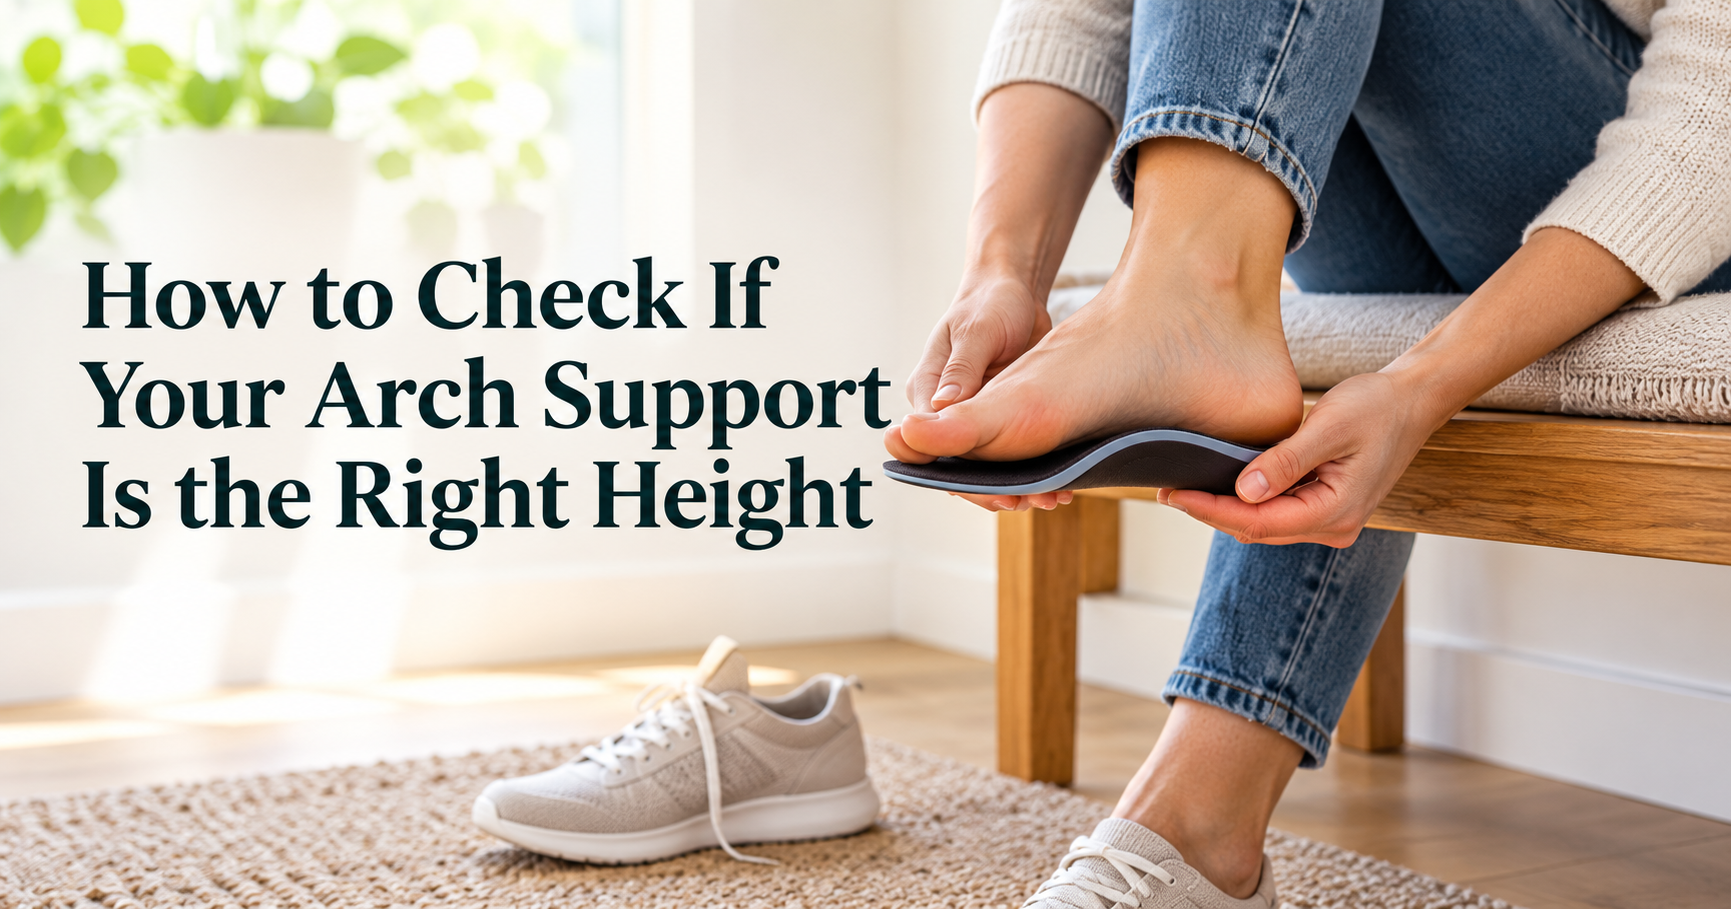
- Feel for contact. You should notice the support touching your arch along its whole length. A hollow gap means too low. A hard, localised bump means too high.
- Locate the peak. The highest point should sit under the inner midfoot, roughly beneath the peak of your natural arch.
Do a quick barefoot check outside the shoe
For an extra check, stand barefoot on the support on a hard floor. A good fit feels like gentle contact along the arch, and you should not see a large gap beside your foot or feel a ridge. This is also a good way to compare the left and right foot.
Walk for 10 to 15 minutes
Standing still tells only half the story. Walk around the house, climb a few stairs, and rise onto your toes. Pay attention to how your arch, heel, ankles and the outer edge of your foot feel. Then do a longer test of an hour or so before you commit to a full day.
Signs Your Arch Support Is Too High, Too Low or Just Right
| Result | What you notice | What to do |
|---|---|---|
| Too high | A pressure or bruise-like ache in the arch; cramping; pain on the outer edge of the foot or ankle; tingling or numbness; feeling that you roll onto the outside of your foot | Switch to a lower profile or a softer, more flexible support. |
| Too low | No noticeable difference; your arch still sags; heel or arch fatigue after standing; your foot still rolls inward; shin or knee tiredness | Try the next height up, or a firmer, more structured support. |
| Just right | Even, gentle lift; your foot feels held; no hot spots or pressure points; comfort builds over the first one to two weeks | Keep wearing it and follow a gradual break-in plan. |
Important
Mild awareness of the support in the first few days is normal, because your foot is adjusting to a new position. Sharp pain, numbness or pain that gets worse each day is not normal. Stop wearing the support and reassess the height.
Step 4: Break In Your Arch Support Gradually
Even a perfectly sized arch support needs time. Your muscles, tendons and the fascia under your foot are used to a certain position, and changing it suddenly can cause soreness. A gradual schedule lets you tell the difference between normal adjustment and a poor fit.
- Start with one to two hours on the first day.
- Add about an hour each day if your feet feel comfortable.
- If you feel soreness, drop back to the last comfortable duration and stay there for a couple of days.
- After one to two weeks, you should be able to wear them all day with no pain. If not, the height or shape is probably wrong.
Common Mistakes When Choosing Arch Support Height
- Believing higher is better. A taller support is not stronger, only more aggressive. Many people do better with a medium or low profile.
- Choosing by shoe size only. Shoe size sets the length of the insole, not the height of the arch.
- Using the same support in every shoe. Dress shoes, running shoes and boots have different volume, so the same support can feel very different.
- Wearing them all day immediately. This is the quickest way to blame a good support for normal adjustment soreness.
- Ignoring wear and tear. Off-the-shelf supports often flatten and lose their shape. Many people replace them roughly every 6 to 12 months, sooner with heavy use.
- Treating all flat feet the same. A flexible flat foot and a rigid flat foot need different approaches, so persistent pain deserves a professional look.
How to Match Arch Support to Your Foot and Activity
If you are shopping for a new pair, use your arch type as the starting point, then consider how and where you will wear them.
| Arch type | What to look for | Best tip |
|---|---|---|
| Low arch | Firm or semi-rigid shell, moderate contour, deep heel cup for stability | Avoid very tall ridges. Gradual support works better than aggressive correction. |
| Medium arch | Balanced semi-rigid support with some cushioning, medium contour | Test the fit on a longer walk to make sure the peak sits under the arch. |
| High arch | Soft, cushioned, full-length support that follows the arch curve and spreads pressure | Avoid hard, narrow ridges. Look for support that also cushions the heel and ball of the foot. |
Features that make the height easier to get right
- Removable factory insole in your shoe so there is room for the new support.
- Full-length design for everyday shoes, or three-quarter length for tight dress shoes.
- Trim-to-fit guides to match the length without changing the arch shape.
- A contoured heel cup that holds the heel in place and keeps the arch peak in the right position.
- A flexible top layer that adds comfort without hiding the shape of the support.
- A clear return or exchange policy, because the true test is how the support feels after a week of wear.
Different activities, different needs
- Walking and standing all day: a medium-firm support with good cushioning is usually the most comfortable.
- Running and sports: look for a flexible, shock-absorbing support that suits the shoe, and test it on a short run first.
- Work boots: a sturdy support with a deep heel cup, checked with the thick socks you wear at work.
- Dress shoes: a slim, low-profile support, since tall supports will not fit.
When to See a Professional
Home checks are useful, but they have limits. Consider seeing a podiatrist, physical therapist or doctor if:
- You still have pain after one to two weeks of a gradual break-in.
- You feel numbness, tingling, swelling or burning in your feet.
- You have diabetes, poor circulation or reduced foot sensation. Speak to your doctor before using new insoles.
- You have severe flat feet, a very high arch, or a foot that looks different from the other.
- You have persistent heel, knee, hip or lower back pain that you suspect comes from your feet.
- Your pain is worse at night or after rest.
A professional can assess the way you stand and walk, then recommend an over-the-counter option or custom orthotics shaped to your feet.
Frequently Asked Questions
How do I know if my arch support is too high?
You will usually feel a pressure or bruise-like ache in the arch within minutes or hours. Other signs include cramping, pain along the outer edge of the foot, numbness, or a feeling that you are rolling onto the outside of your foot.
Should arch support hurt at first?
You may notice the support in the first few days, but it should never be painful. Mild awareness is normal. Sharp pain, numbness or discomfort that grows each day is a sign the height or shape is wrong.
How long does it take to get used to arch support?
Most people adjust within one to two weeks when they increase wear time gradually. If you still have pain after that, try a different height or get professional advice.
Can arch support be too low?
Yes. If your arch still collapses and you feel no change, the support is probably too low or too soft for your foot. You may need a firmer or slightly taller option.
Do I need a different arch support height for each pair of shoes?
Often, yes. Shoes differ in depth and shape, so a support that fits well in one pair can feel too high or too tight in another. Test it in each pair.
How often should I replace arch supports?
Many off-the-shelf supports last about 6 to 12 months, but it depends on use and materials. Replace them when they look flattened, cracked or worn, or when your original symptoms return.
Is the wet test accurate?
It is a good starting point for seeing your arch type, but it only shows your foot under weight. Combine it with the standing and tiptoe checks, and see a professional if you have ongoing pain.
Final Thoughts
Checking your arch support height does not take special tools, only a little time and attention. Find your arch type with the wet test, make sure the support touches your arch evenly with the peak under the inner midfoot, walk in it, and break it in slowly. If it feels held and stable, you have the right height. If it feels like a lump or like nothing at all, adjust and try again.
The right height should feel like quiet, steady support. Take your time, trust your feet, and do not be afraid to try a different height until it feels right.
This article is for general information only and is not medical advice. If you have foot pain, numbness, diabetes or another medical condition, speak with a qualified healthcare professional.