
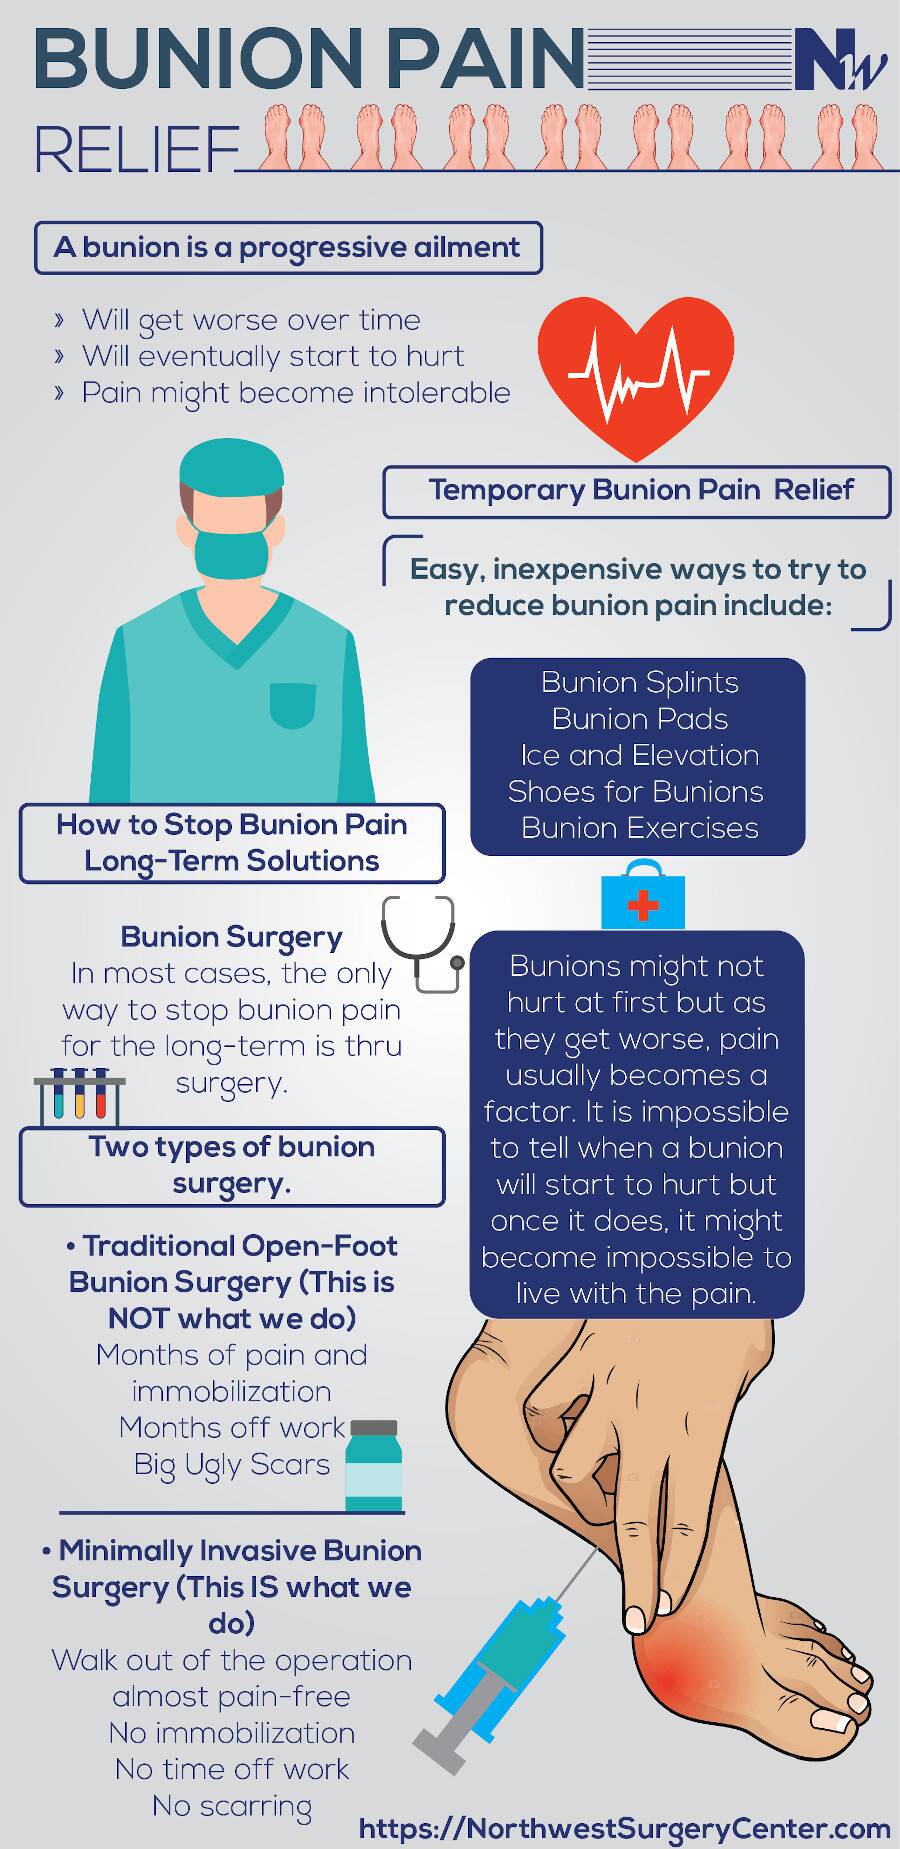
If you’ve ever limped through a special event or abandoned a stylish pair of shoes because of bunion pain, you know how frustrating it can be. Bunions—those bony bumps at the base of the big toe—are more than a cosmetic issue. They’re often the result of underlying foot structure problems, worsened by tight or narrow footwear that forces the big toe inward. While surgery is an option, most people look for non-invasive ways to manage the pain. That’s where a shoe stretcher for bunion relief comes in.
This simple yet powerful tool targets the real problem: pressure. Instead of throwing out your favorite heels or boots, a bunion-specific shoe stretcher allows you to modify them for comfort. By expanding the shoe exactly where it pinches, it reduces friction, inflammation, and pain—often in just one night. Unlike DIY hacks like freezing water-filled bags, a quality stretcher delivers precise, lasting results without damaging your footwear. In this guide, you’ll discover how these devices work, their top benefits, and how to use them effectively to walk pain-free again.
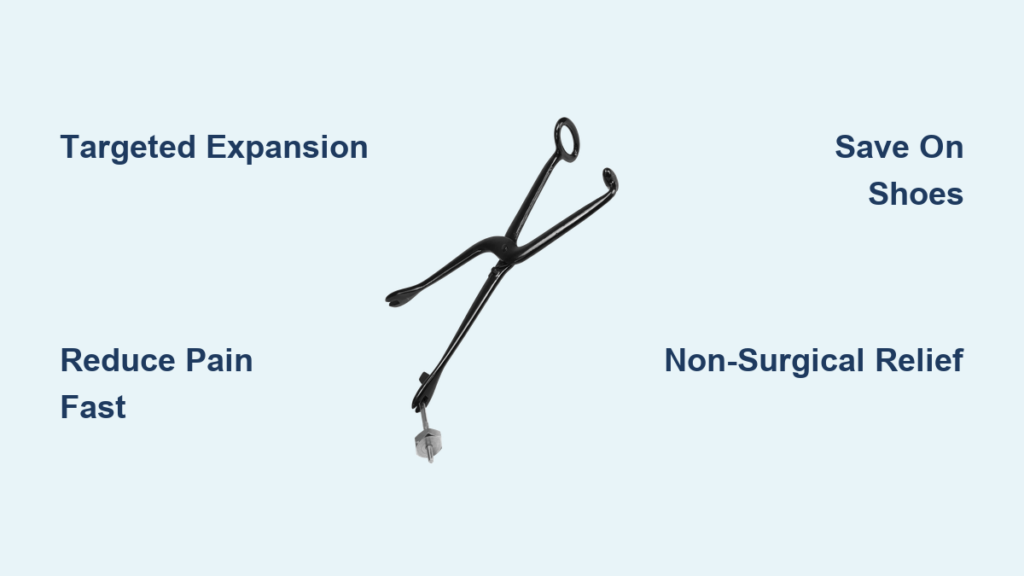
Targeted Pressure Relief for Bunions
Expand Exactly Where It Hurts
A bunion shoe stretcher works by creating a localized enlargement in the toe box—specifically where the bony protrusion presses against the shoe. Most models focus on a half-dollar-sized area on the inner side of the shoe, right over the metatarsophalangeal (MTP) joint. This targeted expansion relieves direct pressure on the swollen, tender joint, which is often red and inflamed from constant rubbing.
Unlike general stretching methods (like stuffing shoes with towels or socks), bunion stretchers apply force exactly where it’s needed. This precision means you don’t sacrifice the overall fit—your heel stays secure, and the arch support remains intact. The result? A shoe that feels roomier in the right place without becoming loose or sloppy.
Reduce Pain and Inflammation Fast
When the shoe stops pressing on the bunion, pain drops almost immediately. Many users report being able to wear shoes they haven’t touched in months—sometimes even years—after just one stretching session. The reduction in mechanical stress not only eases discomfort but also helps decrease swelling and prevent skin irritation, such as blisters or calluses caused by repeated friction.
For even faster results, combine the stretcher with a shoe stretch spray. These solutions temporarily loosen the fibers in leather, suede, or canvas, making them more pliable and responsive to stretching. A simple 50/50 mix of rubbing alcohol and water works just as well as commercial sprays and can be applied before inserting the stretcher.
Ideal for High-Pressure Zones
Bunions form at the MTP joint due to a combination of genetic factors and poor footwear. Shoes with narrow toe boxes push the big toe toward the second toe, worsening both pain and deformity over time. A bunion stretcher counteracts this by gently pushing the upper material outward, giving the joint space to move without pressure.
This is especially effective in natural materials like leather, suede, or canvas, which have the elasticity to accept permanent shape changes. Synthetic or stiff shoes, on the other hand, are more likely to crack than stretch, so always check the material before starting.
How Bunion Shoe Stretchers Work
Ball and Ring Mechanism Explained
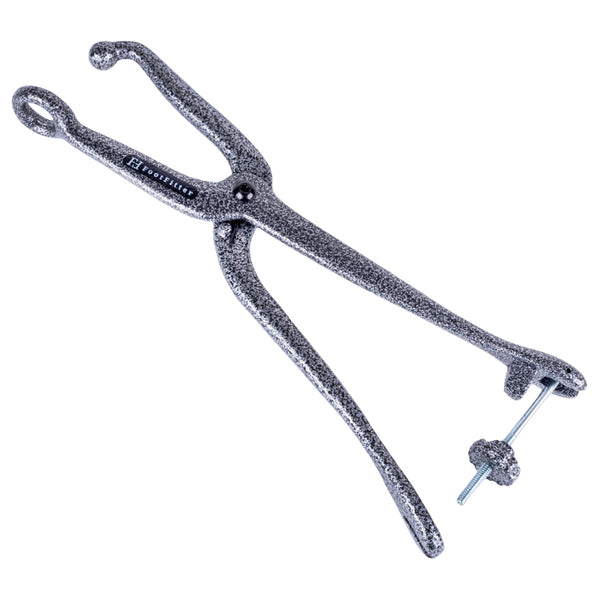
One of the most powerful designs is the ball and ring shoe stretcher. It uses two cast iron arms connected by a pivot, with a metal ball inside the shoe and a ring outside, positioned directly over the bunion site. Turning a knob or squeezing the handles pulls the ball partially through the ring, creating a scissor-like action that applies strong, outward pressure.
This mechanism is ideal for tight dress shoes or stiff leather boots that resist manual stretching. The focused force creates a noticeable bulge exactly where needed—without distorting the rest of the shoe.
Adjustable Internal Stretchers
Another popular option is the rotating internal stretcher, which fits inside the shoe like a footform. With adjustable knobs on the sides, you can expand it forward, backward, or sideways to target different pressure points. Some models offer 360-degree adjustment, making them versatile for bunions, hammer toes, or tailor’s bunions (on the pinky toe side).
These are perfect for everyday sneakers or shoes you want to modify from the inside out. They’re easier to store and often come with heel locks to prevent slipping during use.
Boost Results with Stretch Sprays
For best results, always pre-treat the shoe with a stretch solution before inserting the stretcher. Sprays containing alcohol or water break down the fibers in natural materials, allowing for deeper, more permanent expansion. A light mist is enough—over-saturating can damage the lining or promote mold. Let the solution absorb for 60 seconds before inserting the stretcher to maximize effectiveness.
Step-by-Step: Using a Stretcher Safely
Find the Exact Pressure Point
Start by wearing the shoe with your usual socks or hosiery. Walk around for a few minutes and note where the bunion feels pinched. Mark that spot on the outside with tape or chalk. This ensures accurate placement—critical for effective stretching without damaging other areas.
Prepare the Shoe for Stretching
Spray the interior of the marked area lightly with a 50/50 alcohol-water mix or commercial stretch spray. Avoid soaking. Let it sit for a minute to soften the material. Never use heat (like a hair dryer) unless the manufacturer recommends it—excessive heat can weaken adhesives or warp synthetic linings.
Insert and Activate the Stretcher
- For internal stretchers: Slide it in fully, align the bulge with your mark, and lock the heel end.
- For ball and ring models: Place the ball inside, the ring outside, and insert a thin cloth barrier to prevent scuffing.
Slowly turn the knob or squeeze the handles to begin expansion. Stop when you feel firm resistance—do not force it. Over-tightening can split seams or thin the leather.
Leave It Overnight
Let the stretcher work for 8–24 hours. Overnight is ideal, as the fibers need time to reconfigure. For very stiff shoes, repeat the process 2–3 times, adjusting the position slightly each time to cover a broader area.
Test and Repeat if Needed
Remove the stretcher and try on the shoe. If pressure persists, repeat the process. Most users achieve full relief in 1–3 sessions. Once comfortable, use bunion step-over lacing—skip the eyelet directly over the bunion—to maintain relief.
Top 6 Benefits of Bunion Stretchers
1. Precision Relief Without Ruining Fit
Bunion stretchers expand only the problem zone, preserving the shoe’s structure. Your heel stays snug, and the arch support remains effective—no sloppy fit.
2. Save Money on New Shoes
Therapeutic shoes like Orthofeet or Altra cost $150+ per pair. A quality stretcher costs $45–$55 and works on multiple shoes—saving you hundreds.
3. Non-Surgical, Reversible Solution
You’re not altering your foot—just your shoe. This makes stretchers a safe, conservative option that doesn’t require surgery or permanent changes.
4. Works for Multiple Foot Issues
One stretcher helps with:
– Tailor’s bunions (lateral stretch)
– Hammer toes (dorsal height increase)
– Corns and calluses (reduce friction)
– Crossover toes (create forefoot space)
– Bone spurs (relieve dorsal pressure)
5. Best Results on Natural Materials
Leather, suede, and canvas respond well due to their fiber elasticity and memory. Avoid using stretchers on stiff synthetics—they’re more likely to crack.
6. Fast, Cumulative Comfort
Many notice improvement after one session. With repeated use, the expansion becomes lasting. Users of the TOFL Bunion Pain Relief Stretcher report wearing previously unwearable shoes within 48 hours.
Limitations to Keep in Mind
Doesn’t Fix the Root Cause
Stretching only changes the shoe, not the foot. It won’t stop bunion progression from flat feet or poor gait. For long-term management, pair it with orthotics or supportive insoles.
Risk of Shoe Damage
Over-stretching can split seams or weaken leather. Always stretch gradually and avoid excessive force or heat.
Technique Matters
Misplaced stretchers can bulge the wrong area. Always:
– Mark the contact point
– Use a cloth barrier
– Stretch incrementally
– Avoid oversaturating
Stretchers vs. Bunion-Friendly Shoes
When to Choose a Stretcher
Use a stretcher for special occasion shoes, sentimental footwear, or to extend the life of high-value pairs. It’s a practical bridge solution—not a permanent fix.
When to Invest in Specialized Shoes
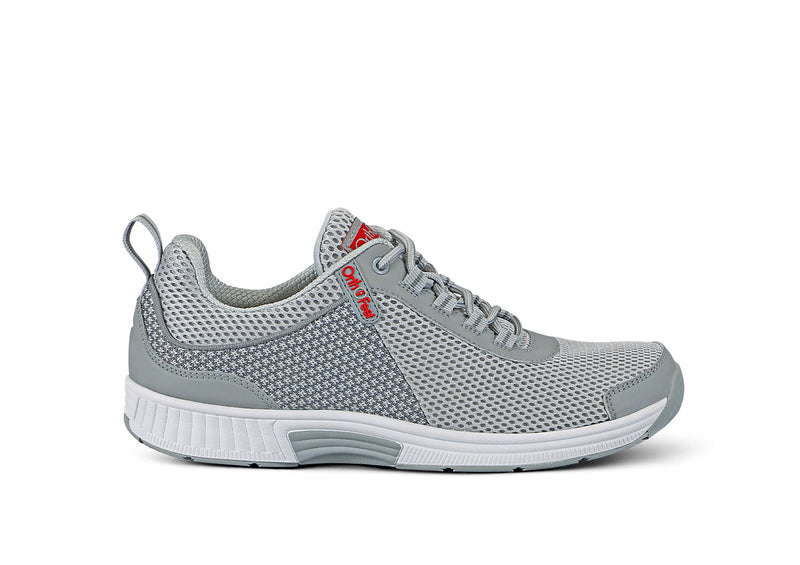
Podiatrists recommend purpose-built bunion shoes for daily wear. These feature wide toe boxes, stretchable uppers, and arch support—designed to slow deformity progression.
Pro Tips for Best Results
- Pre-treat with moisture: Use a 50/50 alcohol-water mix.
- Stretch multiple spots: Create a wider comfort zone.
- Use overnight: 8–24 hours for permanent change.
- Combine with smart lacing: Skip the bunion eyelet.
- Maintain your stretcher: Wipe down metal parts and store dry.
Real User Success Stories
The TOFL Bunion Pain Relief Shoe Stretcher ($51.99) has strong reviews for its durability and ease of use. Users love that it’s reusable, simple to operate, and comes with a 30-day return policy. One said, “I saved three pairs of boots I thought were ruined. Worth every penny.”
Final Note
A shoe stretcher for bunion relief is a smart, cost-effective tool that brings comfort back to your footwear. It reduces pain, saves money, and extends shoe life. But remember: it’s a complement, not a cure. For lasting foot health, combine stretching with supportive shoes, orthotics, and proper care. Used wisely, a quality stretcher can transform your walking experience—one pain-free step at a time.