

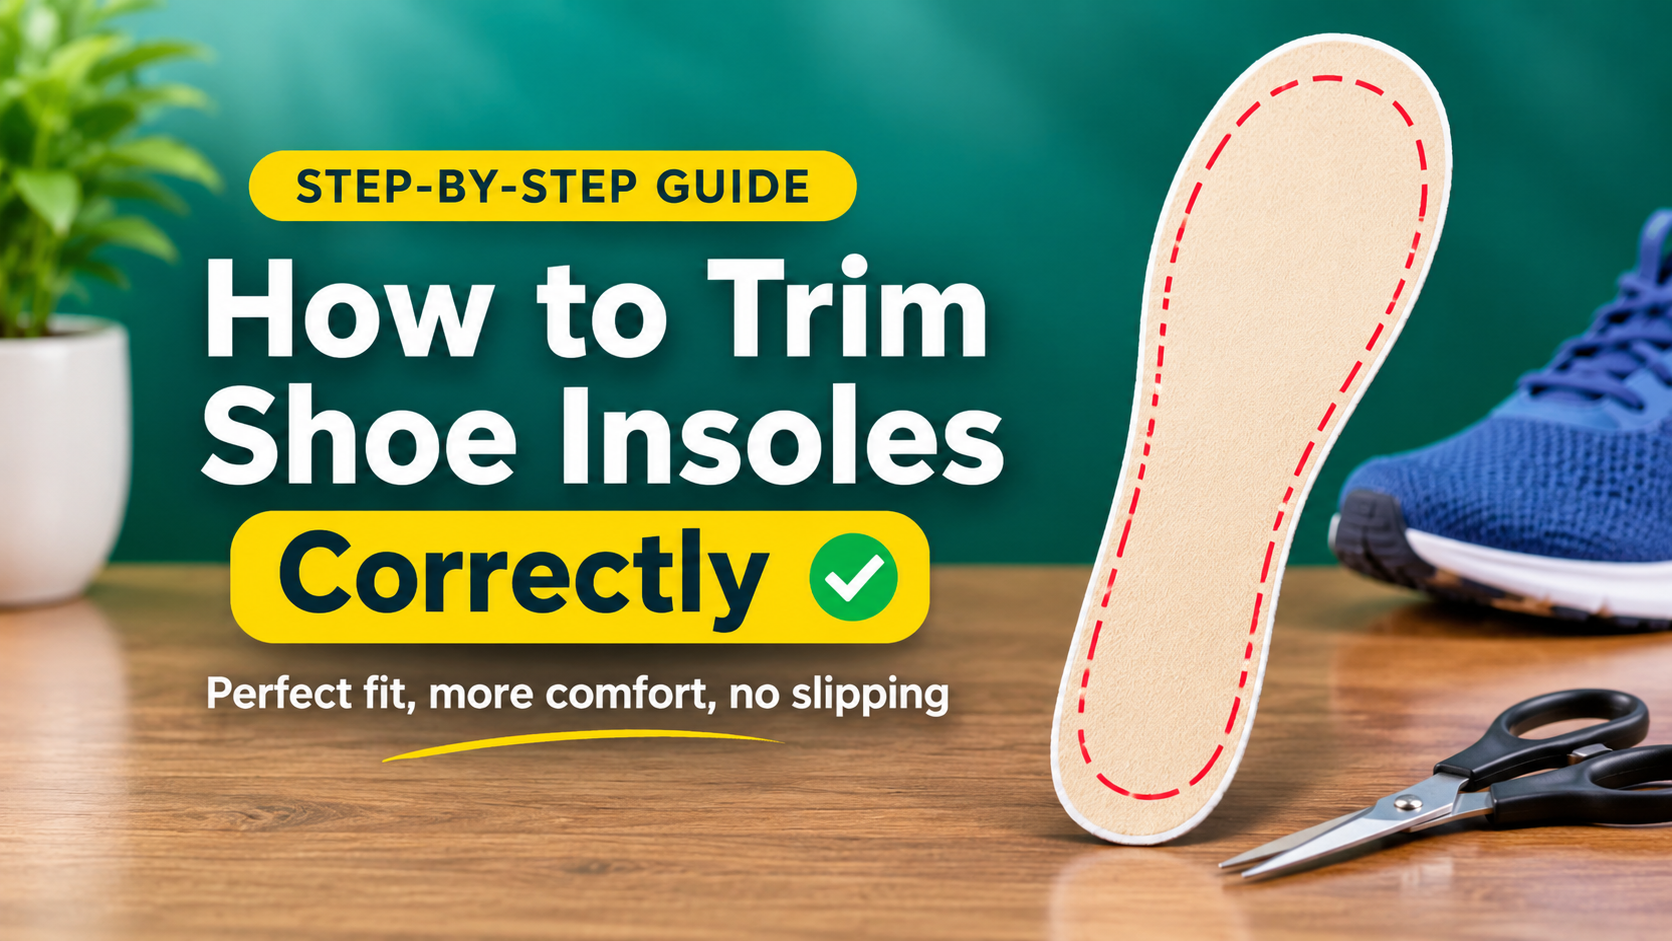
Ever slipped a brand-new insole into your shoe, only to find it bunching up at the toes or squeezing against the sides? You are not alone. Most store-bought insoles come in generic size ranges, which means a perfect fit usually needs a little customizing. The good news is that learning how to trim shoe insoles correctly takes about ten minutes, costs almost nothing, and can turn an irritating insert into the most comfortable part of your shoe.
In this guide you will learn exactly why trimming matters, which tools to use, how to do it step by step, and how to avoid the mistakes that ruin an insole for good.
Why Trimming Your Insoles Matters
An insole that is even a few millimeters too large will fold, curl, or ride up inside the shoe. That creates pressure points, blisters, and uneven support. A properly trimmed insole, on the other hand:
- Lies completely flat so your foot sits evenly on the surface.
- Keeps the arch support in the right place, which is the whole point of buying supportive insoles.
- Prevents slipping and rubbing that cause blisters and hot spots.
- Makes the shoe feel roomier by removing unnecessary bulk around the toes.
- Lasts longer because it is not constantly bent or crushed.
Tools and Materials You Will Need
You do not need anything fancy. Gather these before you start:
- Sharp scissors (fabric or heavy-duty scissors work best for thick foam and gel).
- A pen or fine marker to draw your cutting line.
- The original insole that came with your shoe, to use as a template.
- A utility knife or craft blade for very dense orthotic materials (optional).
- A flat cutting mat or cardboard to protect your table.
- A fine nail file or sandpaper to smooth rough edges (optional).
Dull scissors chew foam and leave jagged edges. If your cuts look ragged, your blades are the problem, not your technique.
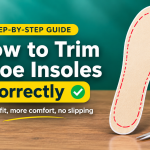
How to Trim Shoe Insoles: Step-by-Step
Step 1: Remove the Original Insole
Pull out the factory insole from your shoe. Most lift out easily from the heel. If yours is glued in, do not force it. Instead, place the new insole inside the shoe and trace it by pressing the shoe’s interior outline with your fingers, or use a paper template (see the tips below).
Step 2: Trace the Outline
Place the original insole on top of the new one. Line up the heel edges perfectly, because the heel is the anchor point and should never be trimmed unless the manufacturer says so. Trace around the original with your marker.
Step 3: Cut Just Outside the Line
Cut about 1–2 mm outside your traced line, not directly on it. It is easy to take more off later, but impossible to add material back. Cut slowly with long, smooth strokes and keep the scissors still while you rotate the insole, which gives a cleaner edge.
Step 4: Test the Fit
Slide the insole into the shoe. It should lie flat with no folding at the sides and a tiny gap (around 1–2 mm) near the edges. If it still buckles, mark the problem spots with a pen.
Step 5: Fine-Tune in Small Snips
Take the insole back out and trim only 2–3 mm at a time from the marked areas. Re-test after every adjustment. This patient approach is the single most important rule for trimming insoles correctly.
Step 6: Smooth the Edges
Run your thumb along the cut edge. If it feels rough or sharp, lightly sand or file it. Smooth edges prevent rubbing against your sock and foot.
Trimming Different Types of Insoles
Foam and Memory Foam Insoles
These are the easiest to cut. Use sharp scissors and avoid squeezing the foam while cutting, as compressed foam can result in an uneven edge.
Gel Insoles
Gel is slippery and can tear. Cut slowly, and trim the fabric or film side rather than pulling through the gel pad. Never cut into the gel cushioning zones under the heel or ball of the foot if you can avoid it.
Orthotic and Arch-Support Insoles
Rigid orthotics are designed for a specific shape. Trim only the toe end unless a professional tells you otherwise. Many come with printed trim lines for different shoe sizes, so follow those markings closely.
Leather and Cork Insoles
These are firmer and need a sharp blade or heavy-duty shears. Take extra care because they do not forgive mistakes, and you can use sandpaper to round the edges.
Trimming Insoles for Different Shoe Types
- Sneakers and running shoes: Leave a small gap at the sides for flex while you run. Trim from the toe end first.
- Work boots: Match the template carefully. Thicker insoles may need extra trimming around the forefoot so your toes are not squeezed.
- Dress shoes: These have narrow toe boxes, so trim a tapered, rounded toe shape to avoid folding.
- Sandals and slides: Trim flush with the footbed edge so no material shows or catches your foot.
Common Mistakes to Avoid
- Cutting too much at once. Always trim in small amounts.
- Trimming the heel. The heel cup keeps your foot stable and the insole in place.
- Skipping the template. Eyeballing leads to lopsided insoles.
- Using dull tools. They tear and fray the material.
- Ignoring trim lines. If the manufacturer printed guides, they are there for a reason.
- Trimming both insoles identically without checking. Feet are often slightly different sizes, so test each shoe separately.
Trimming an insole cannot be undone. If you are unsure, trim less than you think you need and test the fit in the shoe before cutting again.
Quick Troubleshooting Guide
- The insole still slides: Trim a touch more at the toe, or choose an insole with a non-slip base.
- It bunches at the heel: The insole may be too long. Trim the toe end, not the heel.
- Edges feel sharp: Smooth them with a nail file or fine sandpaper.
- The cut looks uneven: Re-trace using the original insole and trim again in tiny snips.
- Your toes feel cramped: The insole may be too thick for the shoe. Consider a thinner model rather than more trimming.
Frequently Asked Questions
Can I trim any shoe insole?
Most foam, gel, and cushioned insoles can be trimmed. Some premium orthotics are molded and should only be trimmed at the toe, so check the instructions first.
Should the insole be exactly the same size as the shoe?
It should match the shoe’s interior shape closely, with a very small gap at the edges so it lies flat without being compressed.
Do I trim the heel or the toe?
Almost always the toe. The heel anchors the insole and supports your foot, so leave it alone.
How do I know the trimmed insole fits properly?
Put on the shoes and walk around for a few minutes. If you feel no bunching, pressure, or slipping, the fit is right.
How often should I replace insoles?
Most last six months to a year depending on use. If the cushioning feels flat or the material cracks, it is time for a new pair.
Final Thoughts
Knowing how to trim shoe insoles correctly saves money, improves comfort, and helps your shoes feel custom-made. Trace the original, cut slightly outside the line, test often, and remove material in small amounts. With a little patience, you will get a clean, flat, secure fit every time. Happy trimming!