
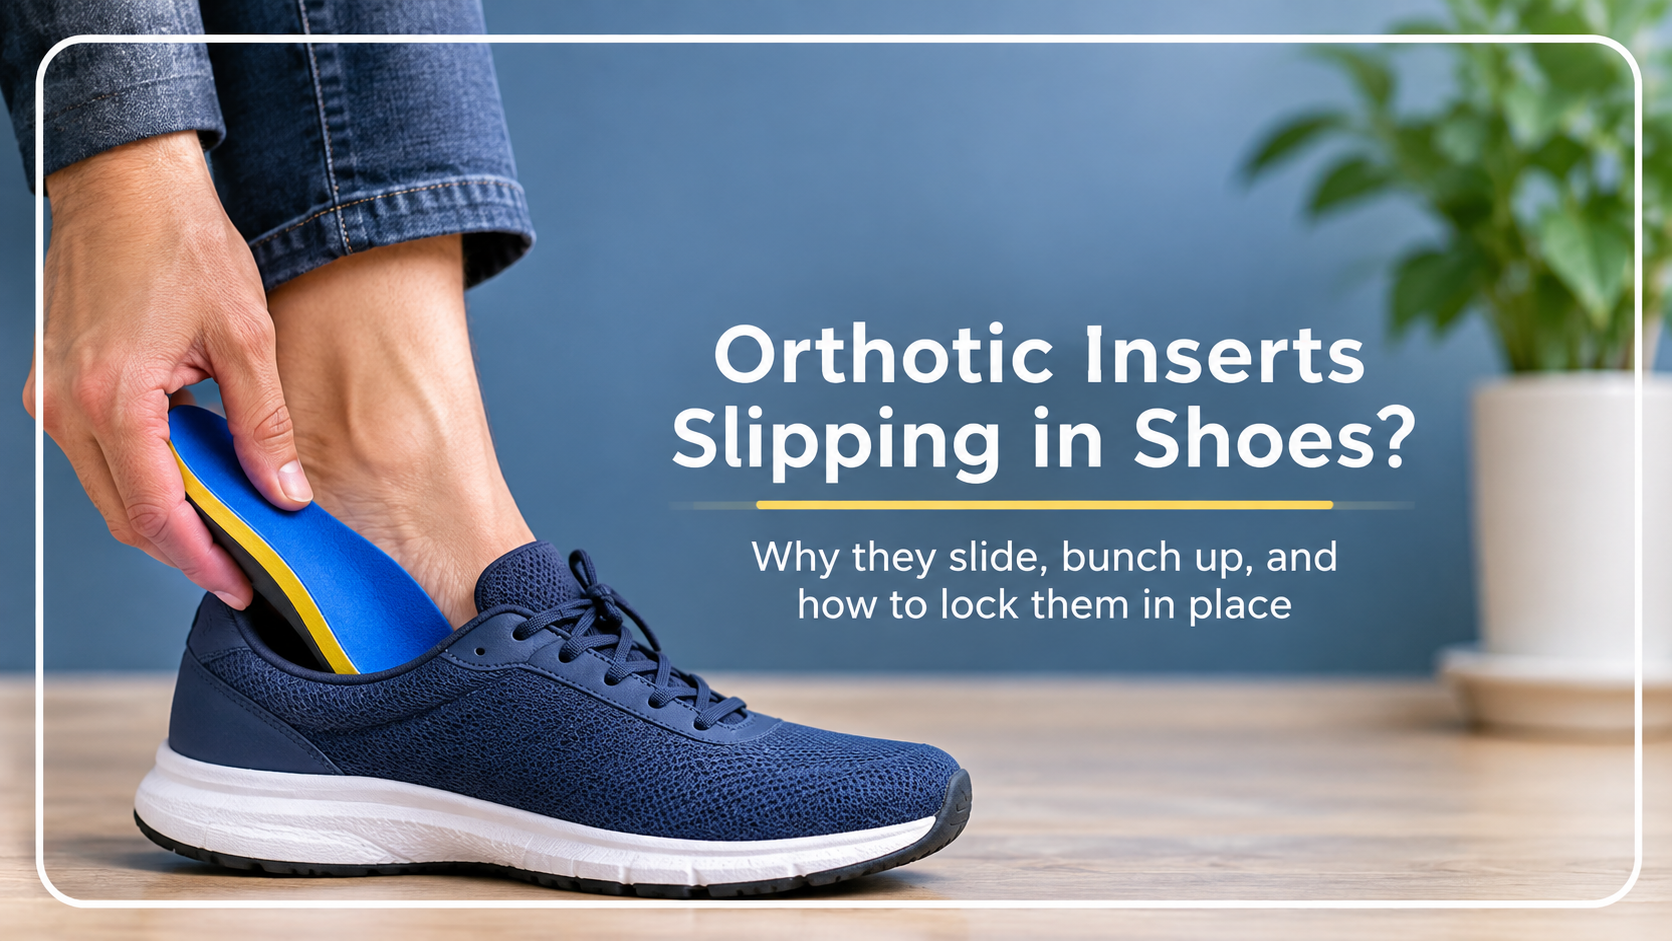
Orthotic inserts only work when they stay exactly where they belong. If your orthotic inserts keep slipping in your shoes, sliding forward, bunching at the toes, or shifting sideways, they cannot support your feet properly and can even cause new discomfort.
This guide covers why orthotics slip, how to tell if the insert or the shoe is at fault, and the practical solutions that keep your inserts stable all day.
Why Is It a Problem When Orthotics Slip?
Orthotic inserts are designed to support a specific part of your foot, usually the arch and heel. When the insert moves, the support is no longer in the right place. You may feel:
- Pressure in the wrong spot under the foot
- Arch or heel pain that returns
- Rubbing, blisters, or hot spots
- A lump or wrinkle under your toes
- Poor balance or an uneven stride

Common Reasons Orthotic Inserts Slip

1. The Insert Is the Wrong Size or Shape
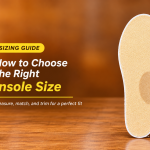
An insert that is shorter or narrower than the shoe interior has room to move. One that is too long folds up at the toes. Always compare the insert to the shoe’s original insole.
2. You Left the Original Insole in the Shoe
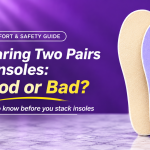
Placing an insert on top of the factory insole creates two layers that can slide against each other. It also raises your foot, which loosens the fit around the heel and midfoot.
3. The Shoe Is Too Big or Too Roomy
If the shoe is oversized or has a wide interior, your foot and the insert can both shift as you walk. Orthotics cannot correct a shoe that does not fit properly.
4. The Shoe Base Is Smooth or Slippery
Some shoes, especially dress shoes and flats, have a polished or lined footbed with very little grip. Without friction, the insert slides forward during each step.
5. Sweat, Socks, and Moisture
Wet feet and slick socks reduce grip between the foot and the insert. Moisture can also weaken adhesive backing on some products.
6. Worn-Out Edges
Older inserts curl or flatten, so they no longer follow the shape of the shoe. If the edges lift or the top cover peels, it may be time for a replacement.
How to Stop Orthotic Inserts From Slipping
1. Remove the Shoe’s Factory Insole
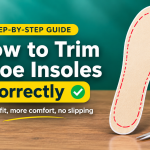
Take out the original insole before inserting your orthotic. Use the factory insole as a template to confirm the orthotic is the same length and shape. Only trim if the manufacturer provides trim lines.
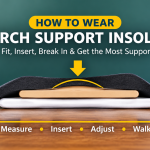
2. Make Sure the Insert Sits Fully Flat
Push the heel of the insert all the way to the back of the shoe first. Then press the front down. The toes should lie flat with no wrinkles or folds.
3. Use Double-Sided Tape or Adhesive Strips
Fabric-safe double-sided tape or removable adhesive strips placed under the heel and midfoot can hold inserts in position. Use small pieces so you can remove them cleanly later.
4. Add Non-Slip Grip Pads
Thin anti-slip pads or grip dots on the underside of the insert increase friction against the shoe footbed. They are helpful in smooth-lined shoes.
5. Try a Three-Quarter Length Insert
Shorter inserts that stop behind the toes avoid bunching and are ideal for tight or dress shoes. They are also less likely to fold at the front.
6. Choose Shoes That Accept Orthotics
Look for shoes with a removable insole, enough depth, a firm heel counter, and a roomy toe area. Supportive sneakers, walking shoes, and work boots usually work best.

7. Fix the Shoe Fit
If the shoe is loose, use proper lacing, a thicker sock, or a heel grip. Try the heel lock lacing method to secure the foot and reduce movement.
8. Keep Feet and Inserts Dry
Wear moisture-wicking socks and let shoes and inserts air out between uses. Clean inserts according to the maker’s directions, as dirt and oils can reduce grip.
9. Break In Gradually
New orthotics settle into the shoe over a few days of wear. Wear them for short periods first and recheck the position regularly.
10. Replace Worn Inserts
If an insert is cracked, flattened, or curling, replace it. Most last from six months to a year or more depending on material and activity level.
Should You Glue Orthotics Into Your Shoes?
Permanent glue is generally not recommended, because it can damage the shoe or insert and makes cleaning and replacement difficult. If you want to secure an insert, use removable adhesive or tape. If one pair of shoes is used daily, ask a footwear professional about options for stable installation.
When to Talk to a Podiatrist or Orthotist
If your orthotics still shift after fitting changes, or if you feel pain, numbness, or skin damage, seek professional advice. Custom orthotics made for a specific shoe type can fit more accurately and stay in place better. If you have diabetes, circulation problems, or nerve conditions, check with a healthcare provider before making any changes.
Frequently Asked Questions
Why do my orthotics slide forward in my shoes?
The usual reasons are a poor fit, a slippery shoe base, extra layers underneath, or a shoe that is too large.
Can I use double-sided tape for orthotics?
Yes. Fabric-safe double-sided tape or small adhesive strips can hold inserts in place and can be replaced when needed.
Should orthotics be removed from the shoe each night?
Not required, but removing them occasionally lets both the insert and shoe dry out, which helps keep them in good condition.
Are three-quarter length orthotics better than full length?
They are better for dress shoes and tighter footwear because they avoid toe bunching. Full-length inserts suit athletic and work shoes.
Can I move my orthotics between different shoes?
Yes, if the shoes have similar depth and shape. Check the fit each time you switch, since an insert that fits one pair may slip in another.
Final Thoughts
Orthotic inserts slipping in shoes is a common problem, and it is almost always fixable. Start with the basics: remove the factory insole, confirm the size, and make sure the shoe suits an insert. Then add grip with tape or non-slip pads, keep everything dry, and replace worn inserts. With a secure fit, your orthotics can finally deliver the support they were made for.
Disclaimer: This article is for general information only and is not a substitute for professional medical advice. If you have persistent foot pain or a medical foot condition, consult a qualified healthcare provider.