

How to Remove Insoles from Shoes: A Complete Step-by-Step Guide
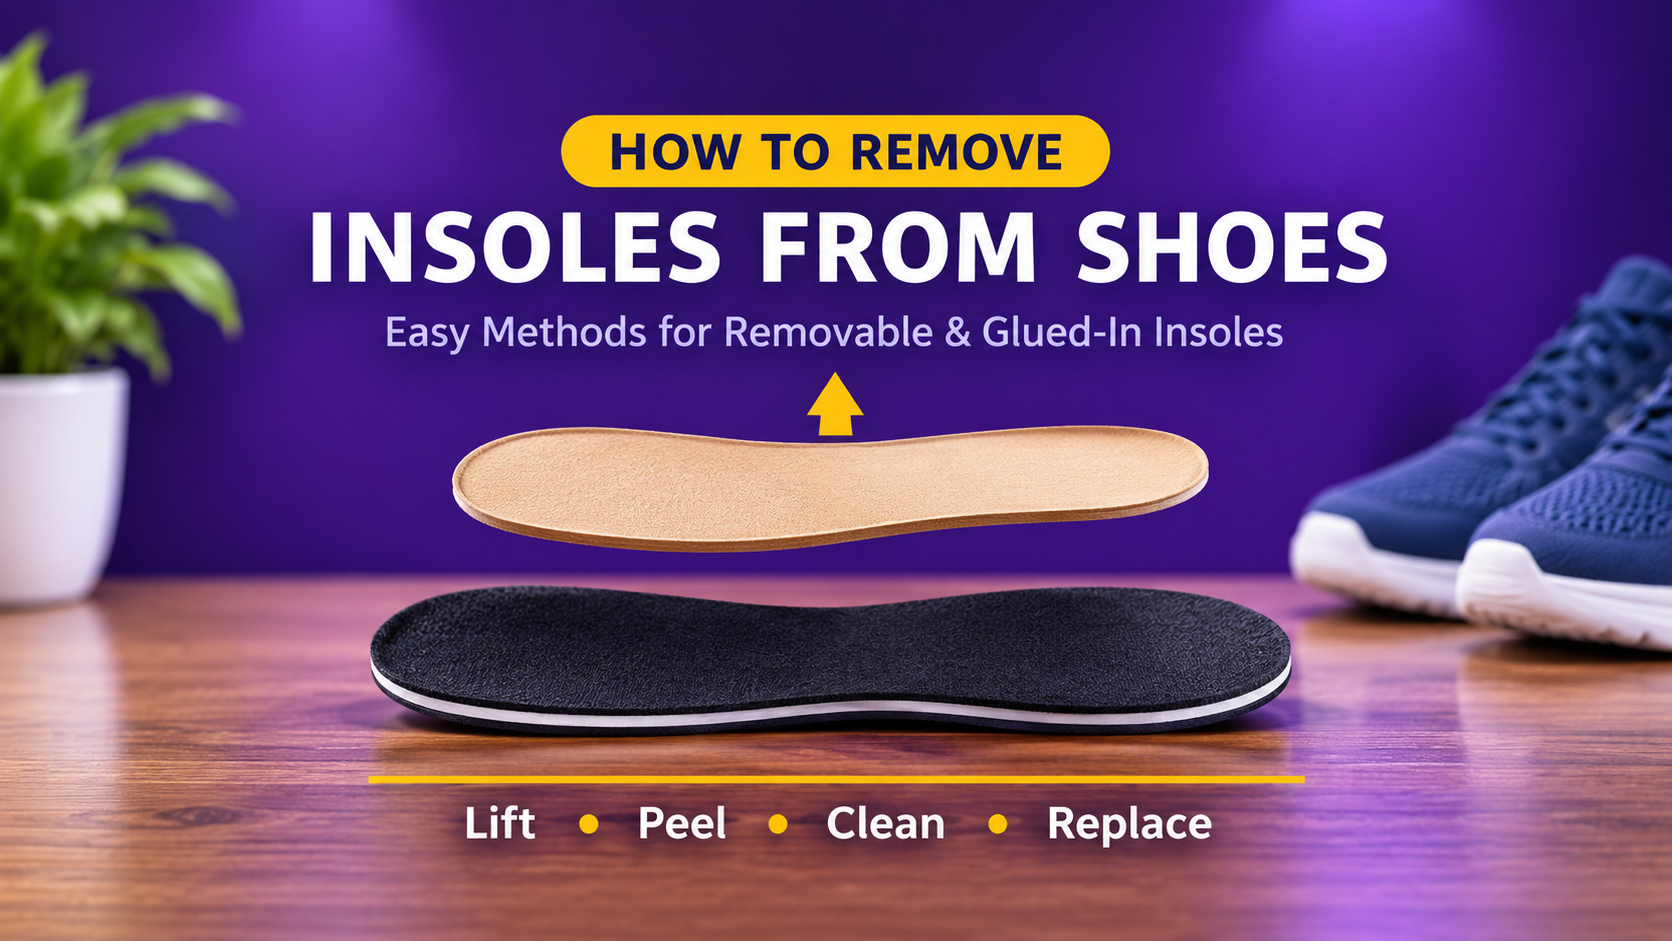
Whether your insoles are worn out, smelly, uncomfortable, or you simply want to swap in better ones, knowing how to remove them properly saves you time and keeps your shoes in good condition. Some insoles slide out in seconds. Others are glued down and need a little patience.
This guide explains how to identify your insole type, the right way to remove removable and glued-in insoles, what to do about stubborn adhesive, how to clean the shoe afterward, and how to choose and fit a replacement.
Table of Contents
- Why You Might Need to Remove Insoles
- Identify Your Insole Type First
- Tools and Supplies You May Need
- How to Remove Removable Insoles
- How to Remove Glued-In Insoles
- Removing Insoles from Specific Shoe Types
- Dealing with Stubborn Glue Residue
- What to Do After Removing the Insole
- Mistakes to Avoid
- Choosing and Fitting a Replacement
- Frequently Asked Questions
- Final Thoughts
Why You Might Need to Remove Insoles
- Odor. Sweat and bacteria build up in insoles over time and cause persistent smell.
- Wear and tear. Flattened cushioning no longer supports your feet properly.
- Cleaning. Removing the insole lets both it and the shoe dry out and be cleaned properly.
- Replacing with better support. Many people upgrade to cushioned, arch-support, or orthotic insoles.
- Fixing fit problems. A removable insole can free up space in tight shoes.
- Peeling or curling. A damaged insole often needs to come out for repair or replacement.
Identify Your Insole Type First
Before you pull anything, find out how your insole is attached. Forcing the wrong type can damage the shoe.

Removable Insoles
These simply sit inside the shoe and lift out with a gentle pull. They are common in sneakers, running shoes, walking shoes, and many casual shoes.
Glued-In Insoles
These are attached with adhesive to the footbed. You will notice they do not move when you press or tug lightly. Common in dress shoes, boots, sandals, and some budget footwear.
Stitched or Built-In Insoles
In some shoes, the insole is stitched to the shoe’s structure or is part of the footbed itself. These are not designed to be removed. Attempting to do so can ruin the shoe.
Quick test: Reach inside the shoe, grip the heel edge of the insole, and pull up gently. If it lifts easily, it is removable. If it resists, it is probably glued. If you see stitching around the edge, do not remove it.
Tools and Supplies You May Need

For removable insoles you need nothing at all. For glued-in insoles, gather a hair dryer, a plastic spatula or old card, rubbing alcohol, a clean cloth, and optionally tweezers and gloves.
How to Remove Removable Insoles

Step 1: Loosen the Shoe Fully
Undo the laces, straps, or velcro completely. This opens the shoe wide and gives you room to work.
Step 2: Pull the Tongue Forward
Bend the tongue forward and out of the way so you can reach the heel area of the insole.
Step 3: Lift from the Heel
Slip your fingers under the heel edge of the insole and lift gently. Most insoles release easily from this point.
Step 4: Slide It Out
Work toward the toe, pulling the insole out in a smooth motion. Do not yank it, since forcing can tear the material or stretch the shoe opening.
If the insole feels tight, press a finger into the toe area and push the insole backward toward the heel to loosen it before pulling it out.
How to Remove Glued-In Insoles
Glued insoles require a gentler approach, but they are very manageable with a little heat and patience.

Step 1: Warm the Glue Gently
Use a hair dryer on a low or medium setting and warm the inside of the shoe for 30 to 60 seconds. Keep the dryer moving and a few inches away. Too much heat can damage leather, plastic, and glue-based shoe parts.
Step 2: Lift One Edge
Use your fingers or a plastic spatula to lift a corner, usually at the heel or toe, where the glue is weakest.
Step 3: Peel Slowly
Pull gradually while working the spatula underneath. If the glue resists, apply a bit more warmth and keep going. Slow and steady avoids tearing the footbed.
Step 4: Remove Leftover Residue
Once the insole is out, rub the footbed with a cloth dampened with rubbing alcohol to dissolve sticky leftovers. For tougher glue, use a gentle adhesive remover suitable for shoes and test a small hidden spot first.
Step 5: Let the Shoe Dry
Allow the inside of the shoe to dry fully before putting in a new insole or wearing the shoe.
Removing Insoles from Specific Shoe Types
Sneakers and Running Shoes
Most athletic shoes have removable insole liners. Loosen the laces, lift from the heel, and slide out. If a second layer is underneath, it is usually the shoe’s midsole and should stay in.
Boots
Boot insoles are often removable but can be snug. Open the boot wide, lift from the heel, and slide forward. Winter boots may have felt liners that pull out together with a removable footbed.
Dress Shoes
Many dress shoes have glued-in insoles that are thin and delicate. Use gentle heat and avoid prying hard, since leather footbeds tear easily. If the insole is stitched, leave it in place.
Sandals and Slides
Footbeds in sandals are often glued to the sole. Warm gently and peel slowly, being careful not to separate the sole layers.
Work Boots and Safety Shoes
Most have removable insoles designed for easy replacement. Pull gently and check for a steel shank or protective layer you should not remove.
Kids’ Shoes
Small insoles can be tight and thin. Be gentle and avoid pulling hard, as tearing is more likely. Many children’s shoes have non-removable insoles.
Slippers
Many slippers have built-in or glued footbeds. Check carefully before removing, and avoid heat on foam or sheepskin lining.
Dealing with Stubborn Glue Residue
Even after the insole is out, adhesive often remains. Here is how to handle it:
- Rub with alcohol. Rubbing alcohol on a cloth dissolves many shoe adhesives.
- Scrape gently. A plastic spatula or fingernail lifts crumbly glue without scratching.
- Roll it off. Rubbing with your thumb or an eraser can roll dried glue into small balls.
- Be patient. Apply, wait a minute, wipe, and repeat rather than scrubbing hard.
- Test first. Always test any cleaner on a hidden spot to avoid discoloring the shoe.
What to Do After Removing the Insole

Inspect the Footbed
Look for cracks, bumps, worn spots, or damaged areas. A smooth footbed helps the new insole sit flat and last longer.
Clean and Disinfect
Wipe the inside with a damp cloth and mild soap, or a little diluted rubbing alcohol. Let it air dry fully, away from direct sun and heaters.
Deodorize
If the shoe smells, sprinkle baking soda inside and leave it overnight, then shake it out. This helps absorb odor and moisture.
Care for the Old Insole
If the old insole is still in good condition, wipe it with mild soap and water, rinse lightly, and air dry flat. If it is flattened, torn, or smelly, it is time to replace it.
Mistakes to Avoid
- Pulling too hard. Yanking can tear the insole or damage the shoe.
- Using too much heat. High heat can warp or melt materials.
- Using sharp tools. Knives and metal tools can cut the footbed.
- Removing a stitched insole. If it is stitched in, leave it alone.
- Using harsh chemicals. Strong solvents can discolor or weaken shoe materials.
- Putting a new insole over damp material. Always let the shoe dry fully.
Choosing and Fitting a Replacement
A well-chosen replacement makes shoes more comfortable and helps your feet. Keep these points in mind:
- Match the size. Use the old insole as a template and trim the new one to fit.
- Pick the right support. Choose cushioning, arch support, or heel cups depending on your needs.
- Consider the shoe type. Thin dress shoes need slim insoles; athletic shoes can take thicker ones.
- Look for breathable materials. They help reduce sweat and odor.
- Do not stack layers. Remove the old insole before adding a new one, unless it is designed to go on top.
- Test before long wear. Walk around the house first to make sure it feels right.
If you wear medical orthotics or have foot pain, ask a foot specialist before choosing a replacement insole.
Frequently Asked Questions
Can you remove insoles from all shoes?
No. Many shoes have removable insoles, but some are glued and some are stitched in. Check how yours is attached before removing it.
How do I remove a stuck insole?
Warm the shoe gently with a hair dryer, lift one edge with a plastic spatula, and peel slowly. Remove leftover glue with rubbing alcohol.
Is it okay to wear shoes without insoles?
You can, but you may lose cushioning and comfort. Some shoes are designed to be worn with the insole in place, so check before leaving it out.
Can I put new insoles over old ones?
It is better to remove the old insole first. Stacking can make shoes too tight and cause the insoles to shift or curl.
How often should insoles be replaced?
Many insoles last several months to a year depending on use, material quality, and activity level. Replace them when cushioning flattens or odor will not go away.
Will removing the insole damage my shoes?
Not if you do it gently and know your insole type. Avoid forcing glued or stitched insoles, which is where most damage happens.
How do I remove insoles from shoes that smell?
Take them out, let them air dry, clean the insole and shoe with mild soap, and use baking soda overnight in the shoe. Replace the insole if the smell remains.
Final Thoughts
Removing insoles from shoes is usually simple. Check the type first, lift from the heel for removable insoles, and use gentle heat with patient peeling for glued ones. Clean the shoe afterward, let it dry, and choose a well-fitting replacement. A little care keeps your shoes in good shape and your feet comfortable.