

How to Stop Insoles from Curling: Easy Fixes That Actually Work
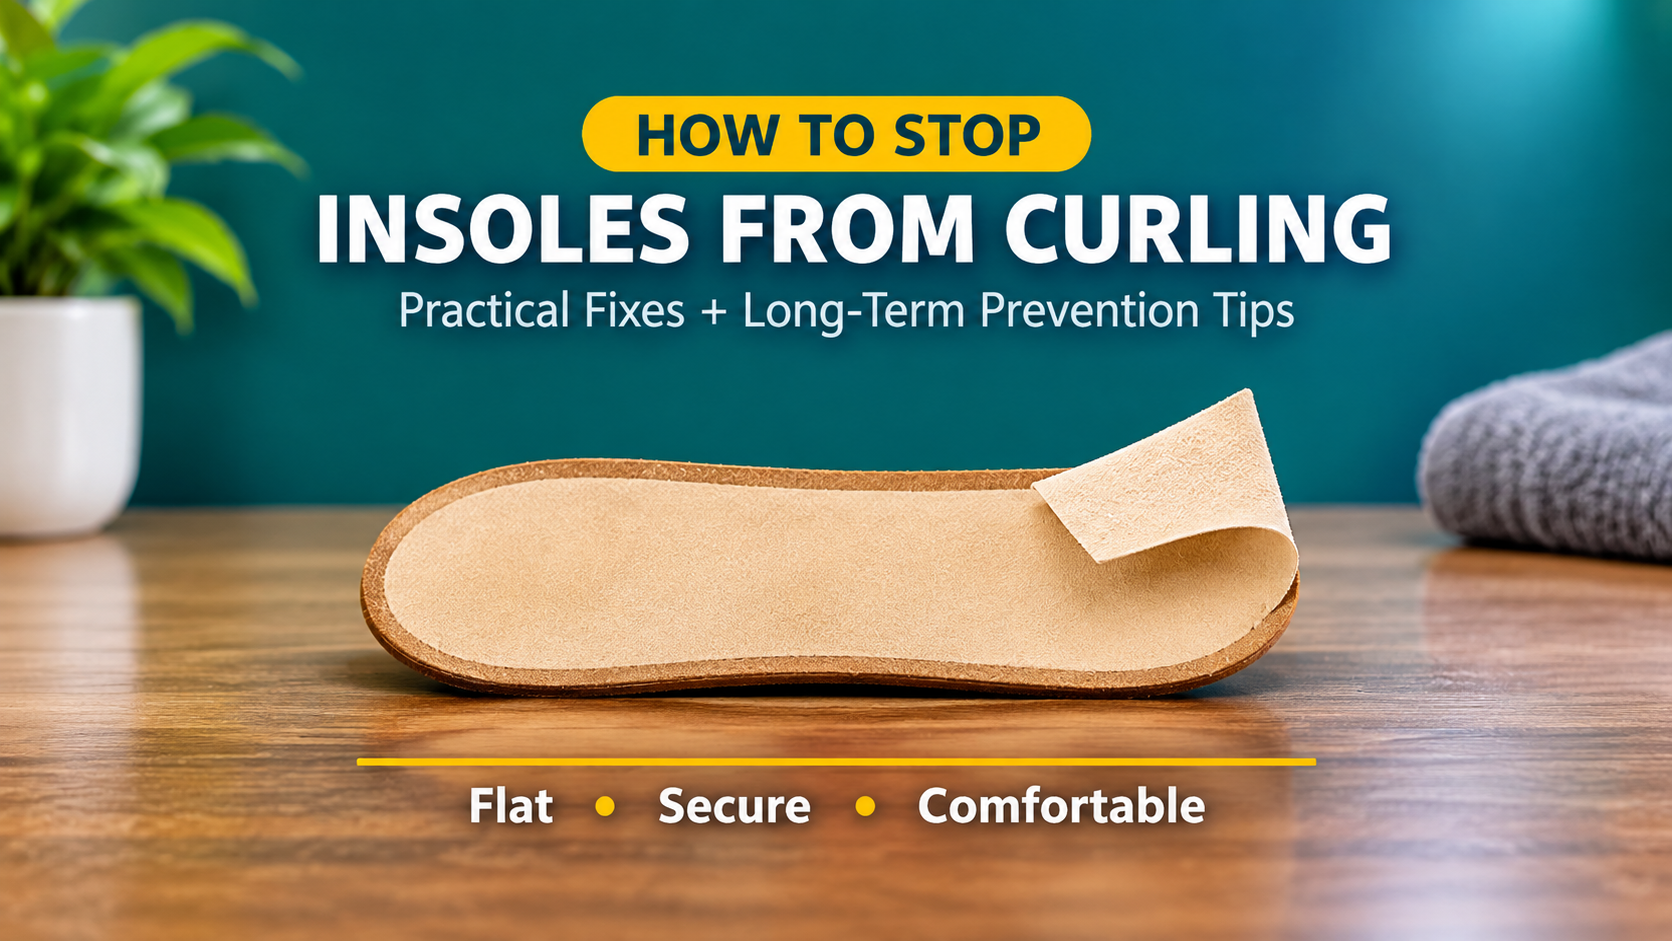
You slip your foot into your shoe and feel it right away: the edge of the insole has curled up, the heel is bunched, or the toe section has flipped over. A curling insole is uncomfortable, it throws off your walking posture, and it can rub your skin raw. Worse, it tends to get worse each day if you ignore it.
The good news is that curling insoles are almost always fixable at home. This guide explains why insoles curl, how to flatten and secure them, which methods work best for different insole types, and how to prevent the problem from returning.
Table of Contents
- Why Insoles Curl Up
- Quick Ways to Flatten a Curled Insole
- Get the Size Right First
- Secure the Insole with Glue or Tape
- Comparing the Different Solutions
- Solutions by Insole Type
- Check the Shoe Itself
- Mistakes That Make Curling Worse
- When It Is Time to Replace the Insole
- How to Prevent Insoles from Curling
- Frequently Asked Questions
- Final Thoughts
Why Insoles Curl Up
Before fixing the problem, it helps to know what causes it. Several everyday factors work together to make insole edges lift.

Moisture and Heat
Feet sweat throughout the day. Moisture and warmth soften foam, fabric, and any adhesive on the insole, making the material relax and curl at the edges as it dries unevenly.
Wrong Size or Shape
An insole that is even slightly too large has nowhere to go. The edges press against the shoe wall and buckle upward. This is the single most common cause, especially with generic one-size-fits-all insoles.
Uneven or Worn Footbed
If the base of the shoe is worn, cracked, or uneven, the insole cannot sit flat. Pressure from your foot pushes the edges up around the low or high spots.
Low-Quality Material
Thin or poorly made foam loses its shape quickly. After a few weeks of walking, it begins to warp and curl.
Smooth Backing With No Grip
Insoles with a slick underside slide forward with every step. As they slide, the heel and edges fold and eventually curl.
Quick Ways to Flatten a Curled Insole
If your insole is simply bent out of shape but still in good condition, these quick methods can help reset it.
Press Under Weight
Take the insole out and place it on a flat surface. Lay a heavy book or flat object on top and leave it for 24 hours. This works well for mild curling in foam and fabric insoles.
Use Gentle Warmth
For stubborn curls in foam insoles, a little gentle warmth can relax the material. Hold the insole near (not on) a warm, not hot, surface for a short time, then press it flat under a book as it cools. Avoid high heat, which can melt or damage the material, and avoid this method on gel and orthotic insoles unless the manufacturer allows it.
Reshape by Hand
Gently bend the insole in the opposite direction of the curl a few times, then press it flat. Do not force it, since over-bending can crack the material.
Get the Size Right First
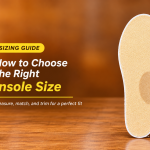
If the insole is too big, no glue or trick will keep it down for long. Trimming to the correct size is the most effective permanent fix.

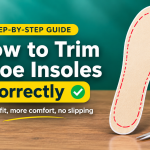
- Trace the original insole. Take out the old insole (or the shoe’s removable liner) and place it on top of the new insole. Trace around it with a pen.
- Cut just outside the line. Use sharp scissors and cut slightly outside the line so you can fine-tune later.
- Test the fit. Place the insole in the shoe. It should lie flat with no bunching and about a millimeter of space around the edge.
- Trim in tiny steps. Remove small amounts until the insole sits perfectly flat. It is easier to trim more than to add material back.
Never fold or crumple an insole to force it in. Folded edges are the most reliable way to guarantee curling.
Secure the Insole with Glue or Tape
Once the size is right, holding the insole in place prevents sliding and curling.
Flexible Shoe Adhesive
Clean the shoe footbed and the insole backing with rubbing alcohol and let them dry. Apply a thin, even layer of flexible shoe glue, especially around the edges and heel, then press the insole into place from heel to toe. Weigh it down for 12 to 24 hours before wearing. A thin layer matters; thick glue makes lumps.
Double-Sided Tape
Double-sided carpet or shoe tape is a quick option. Stick strips across the heel and forefoot, press the insole down, and smooth out air bubbles. It is also easy to remove later if you want to swap insoles.
Non-Slip Grip Liner
If the main problem is sliding, a thin non-slip grip liner or grip pad under the insole can stop movement without any glue. This is a good choice for removable orthotic insoles that you do not want to glue.
Comparing the Different Solutions

For most people, the best combination is correct sizing plus either a thin layer of flexible adhesive or double-sided tape. Pressing alone is a short-term fix and the curl often returns.
Solutions by Insole Type
Foam Insoles
Foam curls easily when damp. Trim to size, flatten under weight, and use double-sided tape or a thin glue layer. Avoid thick adhesive, which can stiffen foam.
Gel Insoles
Gel surfaces are smooth, so they slide and lift. Clean the surface well and use tape made for smooth materials, or a flexible adhesive. A non-slip liner underneath also helps.
Leather Insoles
Leather can dry out and curl as it ages. Condition it lightly, press it flat, and glue it down with contact cement for a lasting hold.
Fabric-Topped Insoles
If only the top fabric is lifting, glue just that layer back down with a fabric adhesive and trim any loose threads.
Orthotic and Arch Support Insoles
Orthotics are designed to keep a specific shape, so avoid heat and avoid gluing unless your specialist says it is fine. A non-slip grip liner or a correctly sized shoe usually solves the problem safely.
Full-Length vs. Three-Quarter Insoles
Full-length insoles are more prone to toe curling in tight shoes. If the toe curls, trimming slightly shorter or switching to a three-quarter length insole can help.
Check the Shoe Itself
Sometimes the insole is not the problem. Look inside the shoe for:
- Cracks, bumps, or worn spots in the footbed
- Old glue lumps or leftover adhesive residue
- A removable factory insole you forgot to take out (double layers curl quickly)
- A shoe that is simply the wrong width or shape for the insole
Smooth out lumps, scrape off old residue, and always remove the factory insole before adding a thicker replacement unless the insole is designed to go on top.
Mistakes That Make Curling Worse
- Using an insole that is too big. Always trim to fit.
- Stacking two insoles. Layers shift against each other and curl.
- Drying insoles in direct sun or near a heater. Heat warps materials permanently.
- Using too much glue. Thick adhesive creates lumps and stiff edges.
- Skipping cleaning before gluing. Dirt and sweat oils stop adhesives from bonding.
- Wearing shoes without socks. Direct sweat speeds up warping.
When It Is Time to Replace the Insole
Not every curl can be saved. Replace the insole if you notice:
- The foam is flattened, cracked, or crumbling
- The curl returns within days of every fix
- The insole has a permanent bend or fold line
- You feel new foot, heel, or arch discomfort
- It has a bad smell that will not go away after cleaning
When shopping for a replacement, look for the correct size, firm but flexible material, a breathable top layer, and a grippy underside. Trim it carefully to match your shoe before wearing it.
How to Prevent Insoles from Curling

- Dry your shoes properly. Rotate pairs so each gets a full day to dry out.
- Air out insoles. Pull them out after sweaty days and let both insole and shoe dry.
- Wear moisture-wicking socks. They keep sweat away from the insole.
- Dry gently. Avoid heaters, hair dryers, and direct sunlight.
- Hand-clean only. Use a damp cloth and mild soap rather than machine washing.
- Choose quality insoles. Better materials hold their shape longer.
- Replace on time. Most insoles lose shape after several months of daily wear.
Frequently Asked Questions
Why do my insoles curl at the toes?
Toe curling usually happens when the insole is too long or the shoe has a narrow toe box. Trim the toe area slightly or use a shorter insole.
Why do my insoles curl at the heel?
Heel curling is often caused by sliding. Secure the heel with double-sided tape or a thin glue layer, and make sure the insole fits the heel curve of your shoe.
Can I use hot water to flatten insoles?
Hot water can warp foam and damage adhesive, so it is not recommended. Pressing under weight is a safer method.
Does double-sided tape really work on insoles?
Yes. It is a quick, easy, and removable solution that works well on most foam and fabric insoles, especially for the heel and forefoot.
Should I glue my insoles in place?
Gluing works well for permanent insoles. For orthotics or insoles you want to remove, tape or a non-slip liner is a better choice.
How long do insoles last before they curl?
It depends on quality and use, but many insoles begin losing shape after a few months of daily wear. Good drying habits can extend this.
Can the wrong shoe size cause curling insoles?
Yes. A shoe that is too tight or too loose can distort the insole and make edges lift. A proper fit is the first step to keeping insoles flat.
Final Thoughts
Curling insoles are annoying, but they are rarely a lost cause. Start with the right size, trim carefully, and secure the insole with a thin layer of flexible adhesive, double-sided tape, or a non-slip liner. Keep your shoes dry, avoid heat, and replace worn-out insoles on time. With these simple steps, your insoles will stay flat, supportive, and comfortable.