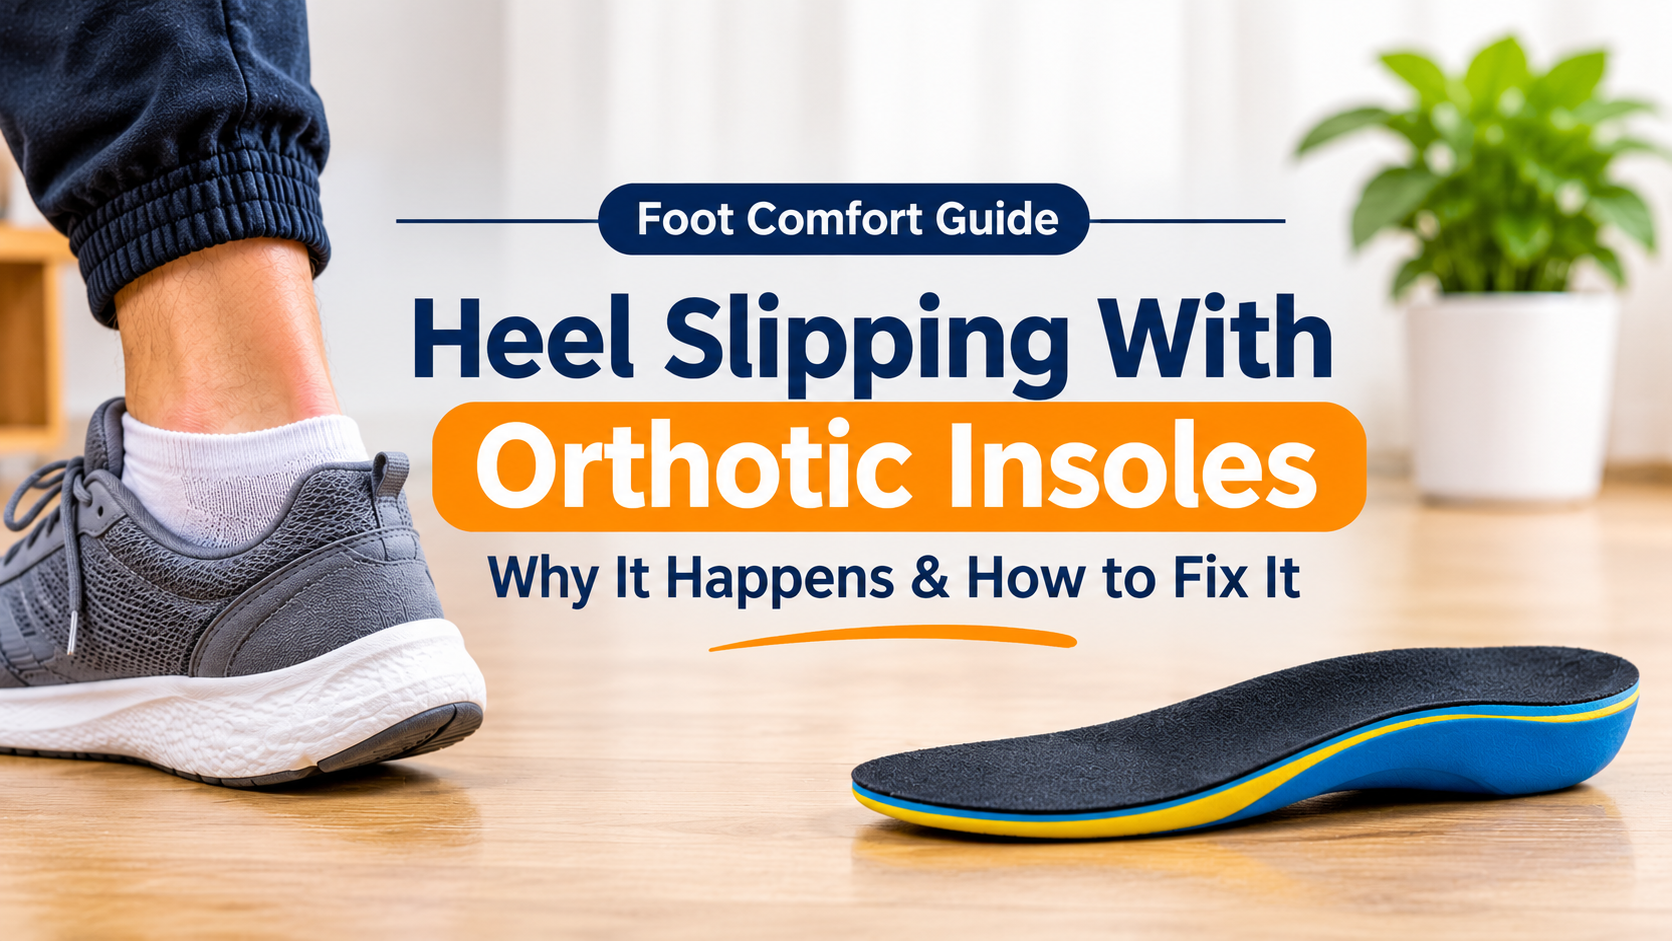
You added orthotic insoles to ease foot pain, but now your heel pops out of your shoe with every step. It is annoying, it can cause blisters, and it makes your orthotics feel useless. The good news is that heel slipping with orthotic insoles is a common problem with practical solutions. In this guide you will learn why it happens, how to tell which cause applies to you, and the step-by-step fixes that stop your heel from lifting, so you can finally enjoy the support you paid for.
Why Does Your Heel Slip When You Wear Orthotic Insoles?
Your heel stays in place when the shoe, your foot, and the insole all fit together. Orthotics change that balance. They add height and a firm shape to the footbed, and if the shoe was not designed with that extra space in mind, your heel can lift out of the heel cup as you walk.

1. The Insole Raises Your Foot Too High
Many orthotics have a deep heel cup and thick arch. When you place one on top of a factory insole, your foot sits higher in the shoe. A higher foot means your heel is no longer sitting low against the back of the shoe, so it can slide up and out much more easily.
2. The Shoe Is Too Big or Too Roomy
Some people size up to make room for orthotics. That helps the toes, but it can leave extra space around the heel. A shoe that is too long or too wide at the back will always allow movement, and orthotics cannot fix that on their own.
3. The Insole Slides or Shifts
If the insole is not held firmly in place, it can slip forward when you push off. When it shifts, the heel cup no longer lines up with your heel, and that creates movement and friction.
4. The Heel Cup Shape Does Not Match Your Shoe or Foot
Every shoe has a different heel shape, and every heel is different too. If the orthotic heel cup is wider, narrower, or deeper than the space inside the shoe, it may not sit flat or may leave gaps at the sides.
5. Slip-On or Low-Cut Shoe Designs
Loafers, flats, clogs, and slip-on sneakers rely on the shape of the shoe alone to hold the heel. With no laces to tighten, adding an insole can quickly make them feel loose.
6. Worn-Out Shoes
A heel counter is the firm cup at the back of the shoe. Over time it softens and collapses. A soft counter cannot hold your heel in place, and orthotics may make the problem more obvious.

Is Some Heel Movement Normal?
A tiny amount of heel movement is normal in most shoes, especially stiff new ones. The heel should stay in contact with the back of the shoe and not pop out. If your heel lifts a lot, the shoe slides off with each step, or you feel rubbing and hot spots, then the fit needs attention.
Quick Fit Checks Before You Try Fixes
- The pinch test: Press the sides of the back of the shoe. A good heel counter feels firm and resists collapsing.
- The twist test: Hold the shoe by the heel and toe and twist gently. Too much twisting suggests a soft, worn-out structure.
- The stand test: Put the orthotic in the shoe, stand up, and walk across the room. Notice whether your heel lifts or the insole moves.
- The finger test: With your foot in the shoe and laced, you should not be able to slide a finger easily behind your heel.
- The insole test: Take the orthotic out and look at the underside. Does it match the shape of the shoe’s footbed, or is it too long, wide, or curled?
How to Stop Heel Slipping With Orthotic Insoles
Work through these fixes in order. Many people solve the problem with one or two steps.

Step 1: Check Your Shoe Size and Fit
Make sure your shoes are the right size for your foot with the orthotic inside. Measure your feet in the afternoon, when they are slightly larger, and check both length and width. If you have gone up a full size, try a half size instead and see whether the heel holds better. A shoe with a snug but comfortable heel and enough toe room is the goal.
Step 2: Replace the Factory Insole and Trim the Orthotic
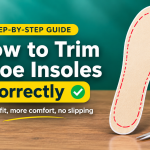
Remove the shoe’s original insole and use it as a template to trim the orthotic if needed. Stacking an orthotic on top of the factory footbed is one of the biggest causes of a raised heel. Trim a little at a time and test the fit often, because you cannot add material back.
Step 3: Keep the Insole From Moving
Use double-sided insole tape or a light adhesive designed for footwear to hold the orthotic in place. Make sure the heel of the insole sits right against the back of the shoe, with no gap. A secure insole keeps the heel cup lined up with your heel.
Step 4: Use Heel Lock Lacing
If your shoes have laces and extra eyelets near the top, a heel lock (also called a runner’s loop) can make a big difference. Lace the shoe normally until you reach the last two eyelets. Thread each lace end through the loop on the same side, cross them over, and pull snug before tying. This pulls your heel back into the heel cup and reduces lift. Avoid pulling so tight that it causes pressure across the top of the foot.

Step 5: Add Heel Grips or Heel Cushions
Soft heel grips, which stick to the inside back of the shoe, add grip and take up extra space around the heel. They can be especially helpful for slip-ons and loafers. Choose a thin, smooth style and place it evenly so it does not create a ridge that rubs your skin. Tongue pads, which stick under the tongue of the shoe, can also push your foot back into the heel.
Step 6: Try a Thinner or Three-Quarter Length Orthotic
If your foot still sits too high, try a lower-profile orthotic. Three-quarter length insoles run from the heel to just behind the ball of the foot, leaving more room in the front of the shoe. They are often a better match for dress shoes and tighter sneakers.
Step 7: Wear Better Socks
Thin, smooth, moisture-wicking socks with a good grip around the heel can reduce sliding. Very slippery or very thick socks can both make slipping worse. Avoid socks that bunch or wrinkle at the back.
Step 8: Choose a Shoe That Works With Orthotics
If nothing else works, the shoe may simply be the wrong match. Look for a shoe with these features:
- A firm, well-structured heel counter that resists pinching
- A removable insole so you can replace it with your orthotic
- A deeper heel cup and enough volume for the added thickness
- Laces or a strap that lets you adjust the fit
- Extra eyelets near the top for heel lock lacing
Which Orthotic Type Is Best to Avoid Heel Slip?
| Insole Type | Heel Slip Risk | Tip |
|---|---|---|
| Thick full-length with deep heel cup | Higher | Use in roomy, deep shoes with the factory insole removed |
| Low-profile full-length | Lower | Good for fitted sneakers and work shoes |
| Three-quarter length | Lower | Leaves toe room and sits flatter in dress shoes |
| Cushioned foam | Medium | May compress and shift, so secure it in place |
| Custom orthotic | Varies | Bring your shoes to fittings and ask your provider about adjustments |
Heel Slipping and Blisters
When your heel rubs against the back of the shoe, the repeated friction can lead to painful blisters or sore spots. If you notice redness at the back of your heel, protect the area early with a soft blister patch or anti-friction balm, and fix the fit problem before wearing the shoes for long periods. If a blister forms, clean the area gently, cover it with a protective bandage, and give your skin time to heal.
Common Mistakes to Avoid
- Leaving the factory insole in and stacking the orthotic on top
- Buying a bigger shoe size just to fit the orthotic
- Pulling laces extremely tight to stop slipping, which can create pressure pain
- Using worn-out shoes with a collapsed heel
- Choosing a thick orthotic for a low-volume shoe
- Ignoring early rubbing or hot spots
When to Talk to a Professional
If you use prescription or custom orthotics, ask the provider who prescribed them before trimming, modifying, or swapping them. A podiatrist or physical therapist can check your foot type, review your shoes, and adjust the orthotic so it fits properly. Seek advice if you have ongoing heel pain, ankle instability, numbness, or a medical condition affecting your feet, such as diabetes.
Frequently Asked Questions
Why do my heels slip out of my shoes with orthotics?
Orthotics often raise your foot and reduce the space inside the shoe. If the heel counter is soft, the shoe is too large, or the insole shifts, your heel can lift out with each step.
Should I remove the original insole when using orthotics?
In most cases, yes. Replacing the factory insole keeps your foot at the height the shoe was designed for. Only keep it if the shoe has plenty of room and the orthotic is designed to sit on top.
Can I use heel grips with orthotics?
Yes. Thin heel grips can fill small gaps and improve hold. Be sure they do not push your foot forward or crowd your toes.
Do I need to buy a smaller shoe size?
Not always. First try fit fixes such as trimming the insole, heel lock lacing, and grips. If the shoe is clearly too large, a half size smaller or a different width may help, but make sure the toes still have enough space.
Are slip-on shoes bad for orthotics?
They are harder to fit because there are no laces to adjust. Look for slip-ons with a firm heel and a snug fit, or use heel grips and a thin insole to improve hold.
How can I stop my heel from slipping in boots?
Use a boot with a firm heel counter, wear snug-fitting boot socks, use heel lock lacing on the top hooks, and consider a thinner insole or a heel grip.
Is heel slipping a sign my orthotics are wrong for me?
Not usually. It is more often a fit issue between the shoe and the insole. If slipping continues after you adjust the shoe, the orthotic design may need a change, so check with your provider.
Final Thoughts
Heel slipping with orthotic insoles is frustrating, but it is rarely a reason to give up on them. Start with the simple checks: your shoe size, the factory insole, and how the insole sits. Then add heel lock lacing, grips, or a lower-profile insole as needed. If the shoe is the problem, choose a better one with a firm heel and enough depth. With a few small changes, your heel stays put, your orthotics do their job, and every step feels more comfortable.
Disclaimer: This article is for general information only and is not a substitute for professional medical advice. If you use prescribed orthotics or have ongoing foot pain, please consult a qualified healthcare professional.