
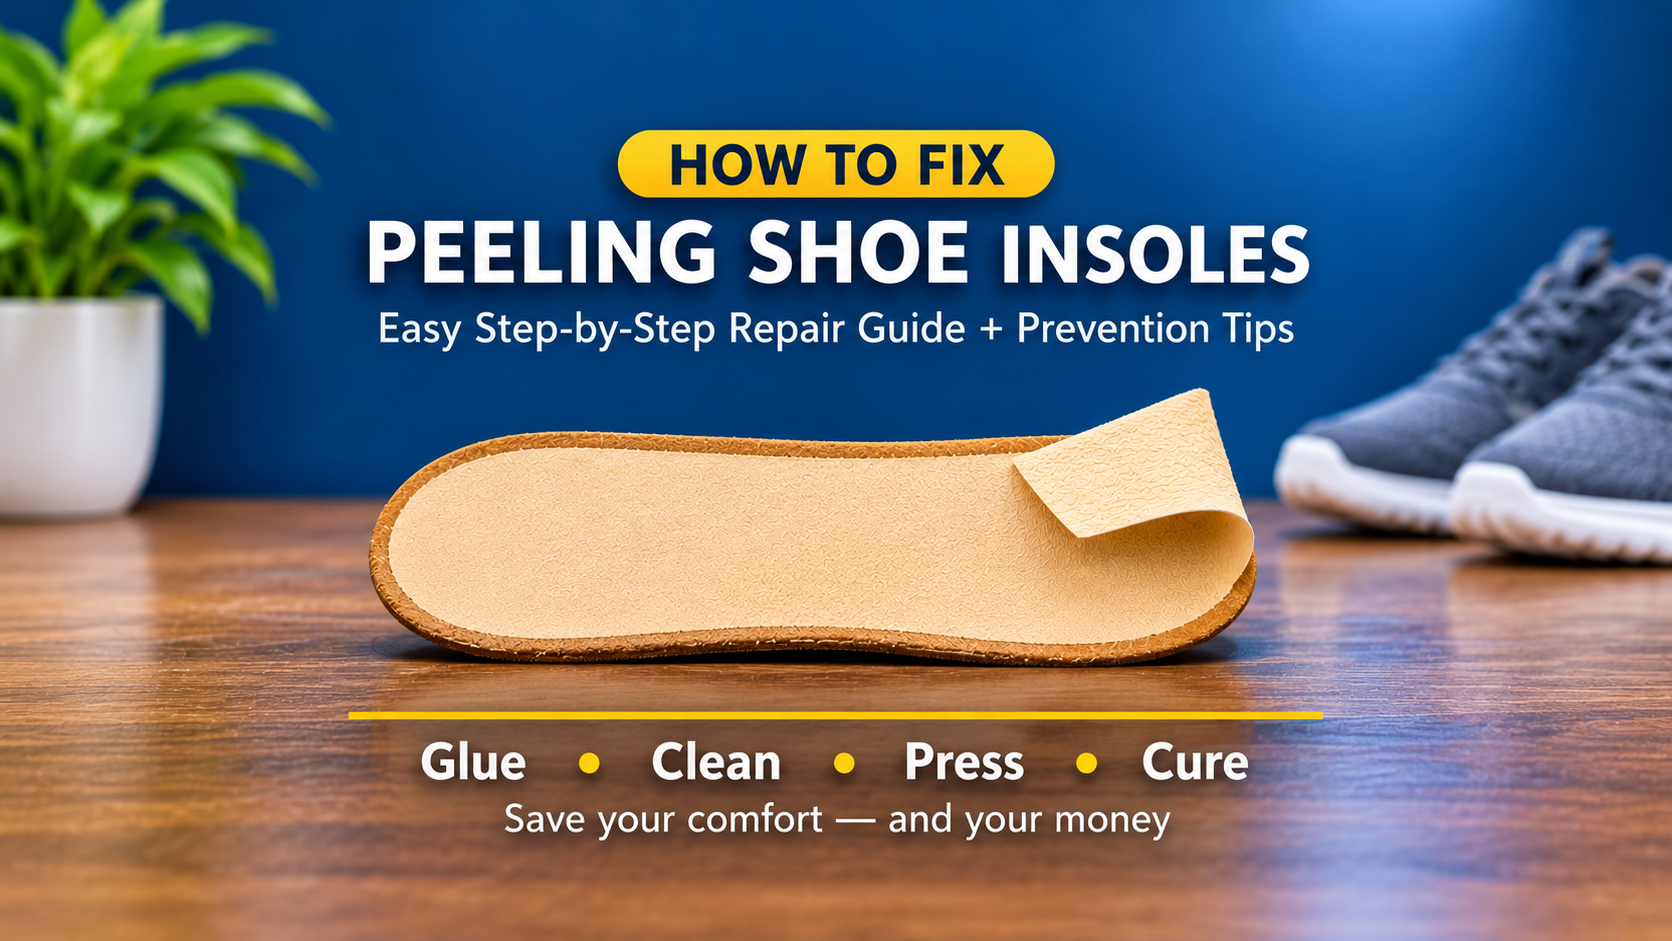

How to Fix Peeling Shoe Insoles: A Complete Step-by-Step Guide
There is nothing more annoying than a favorite pair of shoes with an insole that curls, bunches, or peels off the footbed. It slides around under your foot, creates pressure points, and can even cause blisters. The good news is that peeling insoles are one of the easiest shoe problems to fix at home, usually in under 15 minutes and with inexpensive materials.
In this guide you will learn why insoles peel, what supplies you need, a detailed repair process, which adhesives work best, when it is smarter to replace the insole, and how to stop the problem from coming back.
Table of Contents
- Why Shoe Insoles Peel
- What You Need Before Starting
- How to Fix Peeling Insoles Step by Step
- Choosing the Right Adhesive
- Fixing Different Types of Insoles
- Common Mistakes to Avoid
- When to Replace Instead of Repair
- How to Prevent Peeling in the Future
- Frequently Asked Questions
- Final Thoughts
Why Shoe Insoles Peel
Understanding the cause helps you choose the right fix and avoid a repeat. Most peeling comes down to a handful of everyday factors.

1. Heat and Sweat
Feet produce moisture all day. Over time, sweat and body heat soften the factory adhesive that holds the insole or its top fabric layer in place. This is especially common in athletic shoes, work boots, and shoes worn without socks.
2. Constant Friction
Every step pushes and pulls the insole slightly. The heel and forefoot areas take the most abuse, which is why edges there start curling first.
3. Low-Quality Adhesive
Budget shoes and cheap replacement insoles often use thin, weak glue. It may hold for a few weeks, but repeated flexing and warmth break it down quickly.
4. Washing and Soaking
Soaking shoes, using a washing machine, or drying them near a heater or in direct sun can loosen bonds and warp the insole material.
5. Wrong Size or Poor Fit
An insole that is too big gets folded at the edges to fit, and folded edges naturally lift. A well-fitted insole lies flat and stays put longer.
What You Need Before Starting
You do not need special tools. Gather these items first:
- Flexible shoe adhesive or contact cement (the best all-round choice)
- Rubbing alcohol and a clean cloth or cotton pad
- Fine sandpaper (optional, for smooth or glossy surfaces)
- A small brush, spatula, or old card for spreading glue
- Heavy books or a clamp for pressing
- Paper towels for wiping excess glue
- Scissors to trim any frayed edges
How to Fix Peeling Insoles Step by Step

Step 1: Remove the Insole
If the insole is removable, gently lift it out. If part of it is still attached, peel slowly to avoid tearing the material. Let both the insole and the inside of the shoe air dry completely if they feel damp.
Step 2: Clean Both Surfaces
Old glue residue, dust, and sweat oils stop new adhesive from sticking. Wipe the back of the insole and the shoe footbed with rubbing alcohol. Scrape off crumbly old glue with a spatula or your fingernail, then let the alcohol evaporate for a minute or two. If the surface is very smooth, lightly rough it with fine sandpaper to give the glue something to grip.
Step 3: Apply a Thin, Even Layer of Adhesive
Spread a thin layer on the footbed and, if you are using contact cement, on the back of the insole too. Cover the edges well, since that is where peeling starts. Avoid thick blobs, which create lumps you will feel under your foot. If your adhesive label says to wait until it turns tacky, follow that instruction.
Step 4: Align and Press Firmly
Lay the insole back in carefully, starting from the heel and working toward the toe so no air bubbles get trapped. Press down with your palm, working from the center out to the edges. Wipe away any glue that squeezes out.
Step 5: Weigh Down and Let It Cure
Put the shoe on a flat surface and place something heavy inside, such as a stack of books, or use a clamp. Leave it for 12 to 24 hours, or as long as the adhesive instructions recommend. Rushing this step is the number one reason repairs fail.
Choosing the Right Adhesive
The glue you pick matters more than most people expect. Insoles flex constantly and are exposed to heat and moisture, so you need an adhesive that stays flexible after drying.

Flexible Shoe Glue or Contact Cement
This is the top choice for most repairs. It bonds strongly and stays flexible, so you will not feel a hard patch under your foot.
Fabric or Textile Glue
A good option when the peeling part is a cloth top layer. It dries soft and handles light washing better than many other glues.
Double-Sided Carpet Tape
Useful for a fast, temporary fix, especially for removable insoles that you want to reposition later. It is not as durable under heavy sweat.
Super Glue
Works in an emergency for a small spot, but it dries hard and brittle and can crack as your foot flexes. Use it sparingly.
Hot Glue
Not recommended. It forms lumps and can soften again when the shoe gets warm.
Fixing Different Types of Insoles
Foam Insoles
Foam compresses easily, so use a very thin glue layer and press gently. Too much pressure can flatten the cushioning permanently.
Gel Insoles
Gel insoles often peel because the gel surface is slick. Clean thoroughly with alcohol and use a flexible adhesive or double-sided tape designed to grip smooth surfaces.
Leather Insoles
Lightly roughen the surface, clean it, and use contact cement. Leather needs a firm press and a full curing time to bond well.
Fabric-Topped Insoles
If only the top cloth is lifting, you can glue just that layer back down using a fabric adhesive without removing the whole insole. Trim any frayed threads first.
Orthotic Insoles
If you wear medical or custom orthotics, check with your foot specialist before gluing anything. Adhesive can change how the orthotic sits and may affect its support.
Common Mistakes to Avoid
- Skipping the cleaning step. Dirty surfaces make even the best glue fail.
- Using too much glue. Thick layers create lumps and take much longer to dry.
- Wearing the shoes too soon. Always allow the full curing time.
- Using rigid glue. Hard adhesives crack when your foot flexes.
- Ignoring ventilation. Many adhesives have strong fumes, so work in a well-ventilated area.
- Fixing a worn-out insole. If the foam is flattened or crumbling, gluing will not bring back comfort.
When to Replace Instead of Repair
Repair is a great choice when the insole itself is in good condition and only the edges or top layer are lifting. Replacement makes more sense if you notice any of these signs:
- The cushioning is flat, cracked, or crumbling
- The insole smells bad even after cleaning
- You feel heel or arch pain that was not there before
- The insole has torn in several places
- The shoe footbed underneath is damaged
When choosing a replacement, pick the right size and trim it to match the original insole shape rather than folding it to fit. Look for options with breathable, moisture-wicking top fabric, since this reduces the sweat that causes peeling in the first place.
How to Prevent Peeling in the Future

- Rotate your shoes. Give each pair a full day to dry out between wears.
- Wear moisture-wicking socks. Less sweat means less stress on the adhesive.
- Air out your insoles. Pull them out after sweaty days so both the insole and shoe can dry.
- Clean by hand. Use a damp cloth with mild soap. Avoid soaking and machine washing.
- Dry naturally. Keep shoes away from direct sun and strong heaters, which weaken glue and warp materials.
- Choose the correct size. A flat, well-fitted insole is far less likely to lift at the edges.
- Use shoe deodorizing products carefully. Heavy sprays can leave moisture behind, so let shoes dry fully afterward.
Frequently Asked Questions
Can I fix peeling insoles without glue?
Yes. Double-sided carpet tape or a strong adhesive insole liner can hold an insole in place temporarily. For a lasting fix, though, flexible shoe adhesive is the better choice.
How long does a repaired insole last?
A properly cleaned, glued, and fully cured insole can last several months or longer. Heavy daily wear and heat can shorten that, so good drying habits matter.
What is the best glue for shoe insoles?
Flexible shoe adhesive or contact cement is generally the best choice because it stays soft after drying and handles flexing, heat, and moisture well.
Why does my insole keep sliding even after gluing?
This usually means the surfaces were not cleaned well, too much glue was used, or the glue did not cure long enough. Remove the insole, clean off the old residue, and repeat the process carefully.
Is it safe to use super glue on insoles?
It is fine for a very small emergency spot, but it dries stiff and can crack or feel hard under your foot. A flexible adhesive is a much better long-term option.
Can I wash my shoes after fixing the insole?
It is best to avoid machine washing. Spot clean by hand and let the shoes air dry naturally so the adhesive stays strong.
Should I fix or replace the insoles in running shoes?
If the insole is still firm and supportive, fixing is fine. If the cushioning is worn or you feel new discomfort, replacing it is the safer option for your feet.
Final Thoughts
Fixing peeling shoe insoles is quick, cheap, and satisfying. Clean both surfaces, use a thin layer of flexible adhesive, press firmly, and give the glue enough time to cure. Pair that with simple habits like rotating shoes and letting them dry fully, and your insoles will stay flat and comfortable far longer. And if the insole is worn out, replacing it with a well-fitted, breathable option is a small investment that makes every step more comfortable.